
I’m not the most frequent or consistent baker, but there are times, and those times hit recently, that all I want to do is make and eat pie. All kinda pies. But every time I go to make a pie, I need to look at like five different dough recipes, get my ratios correct, make sure I have all the ingredients needed (I usually don’t) and then I can actually start getting to the pie making part. So I figured I might as well add a basic all-butter pie crust recipe to the site for my own reference and it might even be a help for you too.
Since I don’t make pies all that frequently, I never have lard or shortening around. I also just like an all butter pie crust. It’s simple, to the point, mo’ butter, mo’ better. Plus, I ALWAYS have butter. This recipe is nice since it’s scaled to make either two uncovered pies or one covered pie. The dough freezes really well, so any extra gets stashed away for another pie making day.
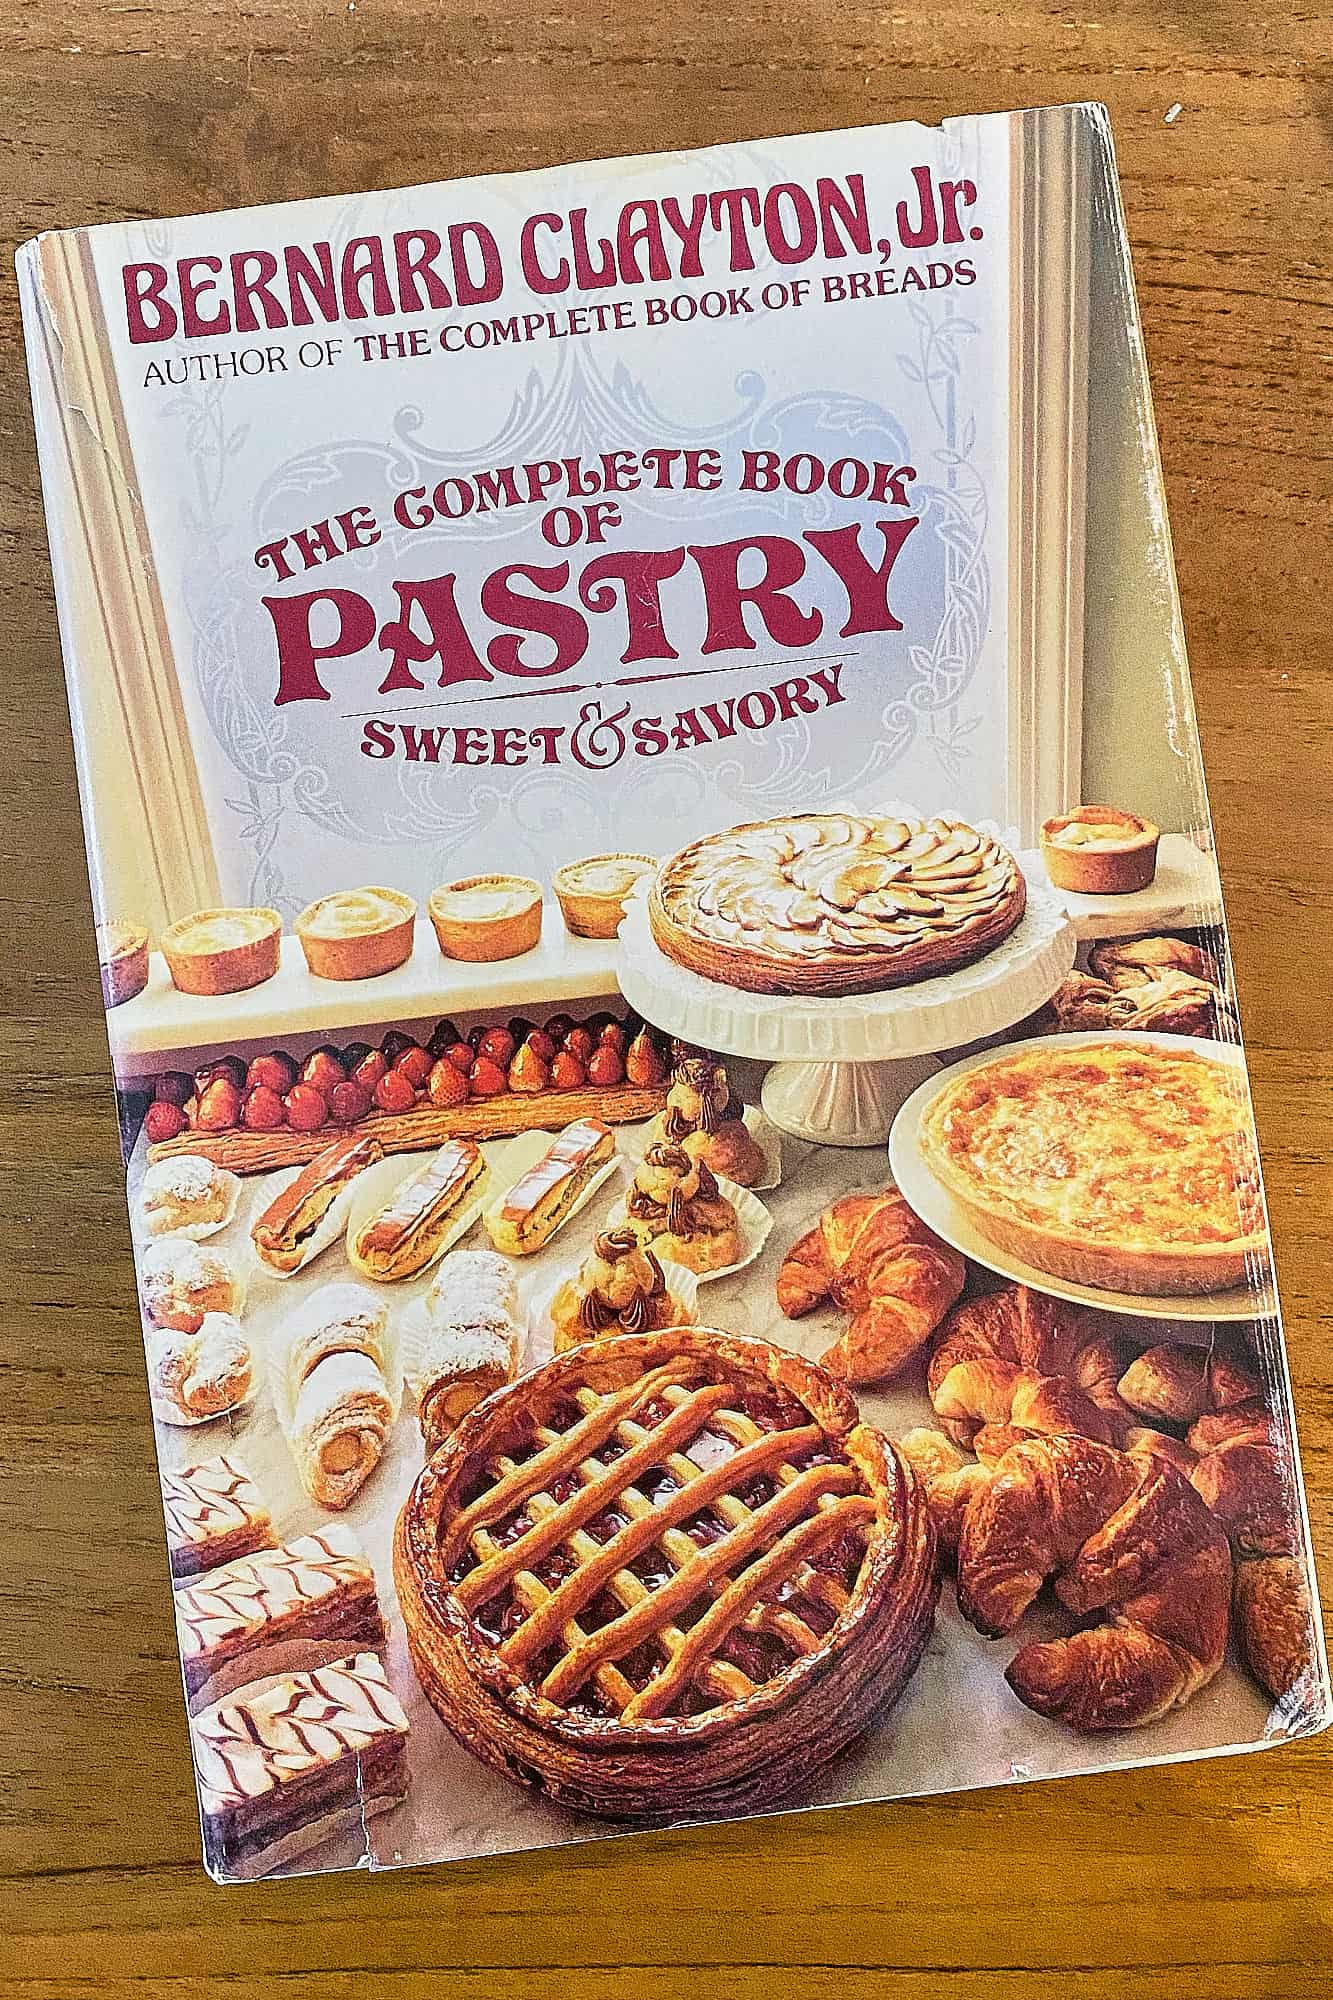
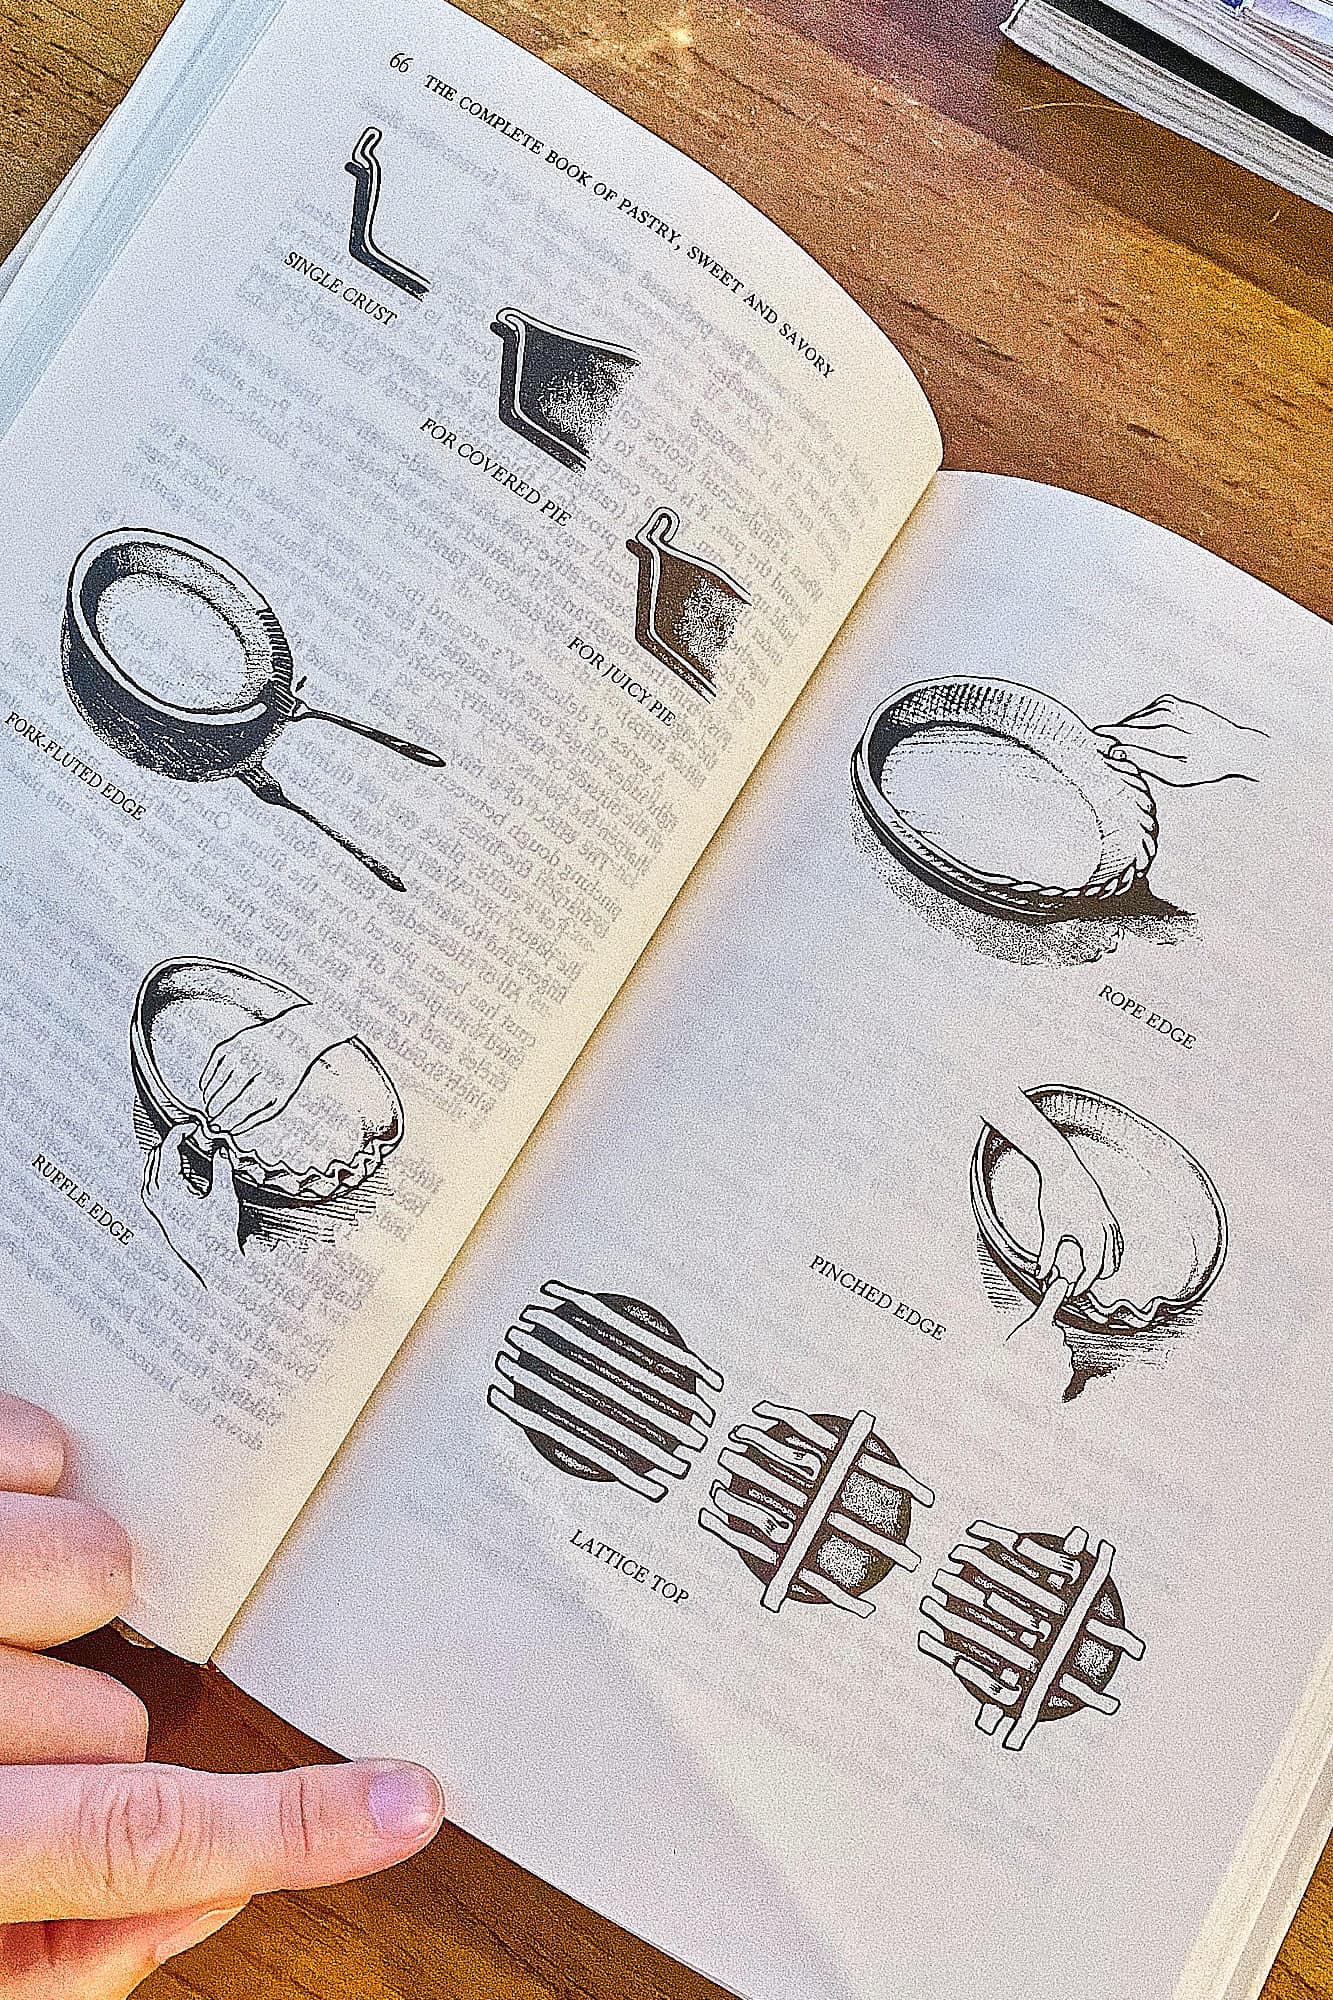
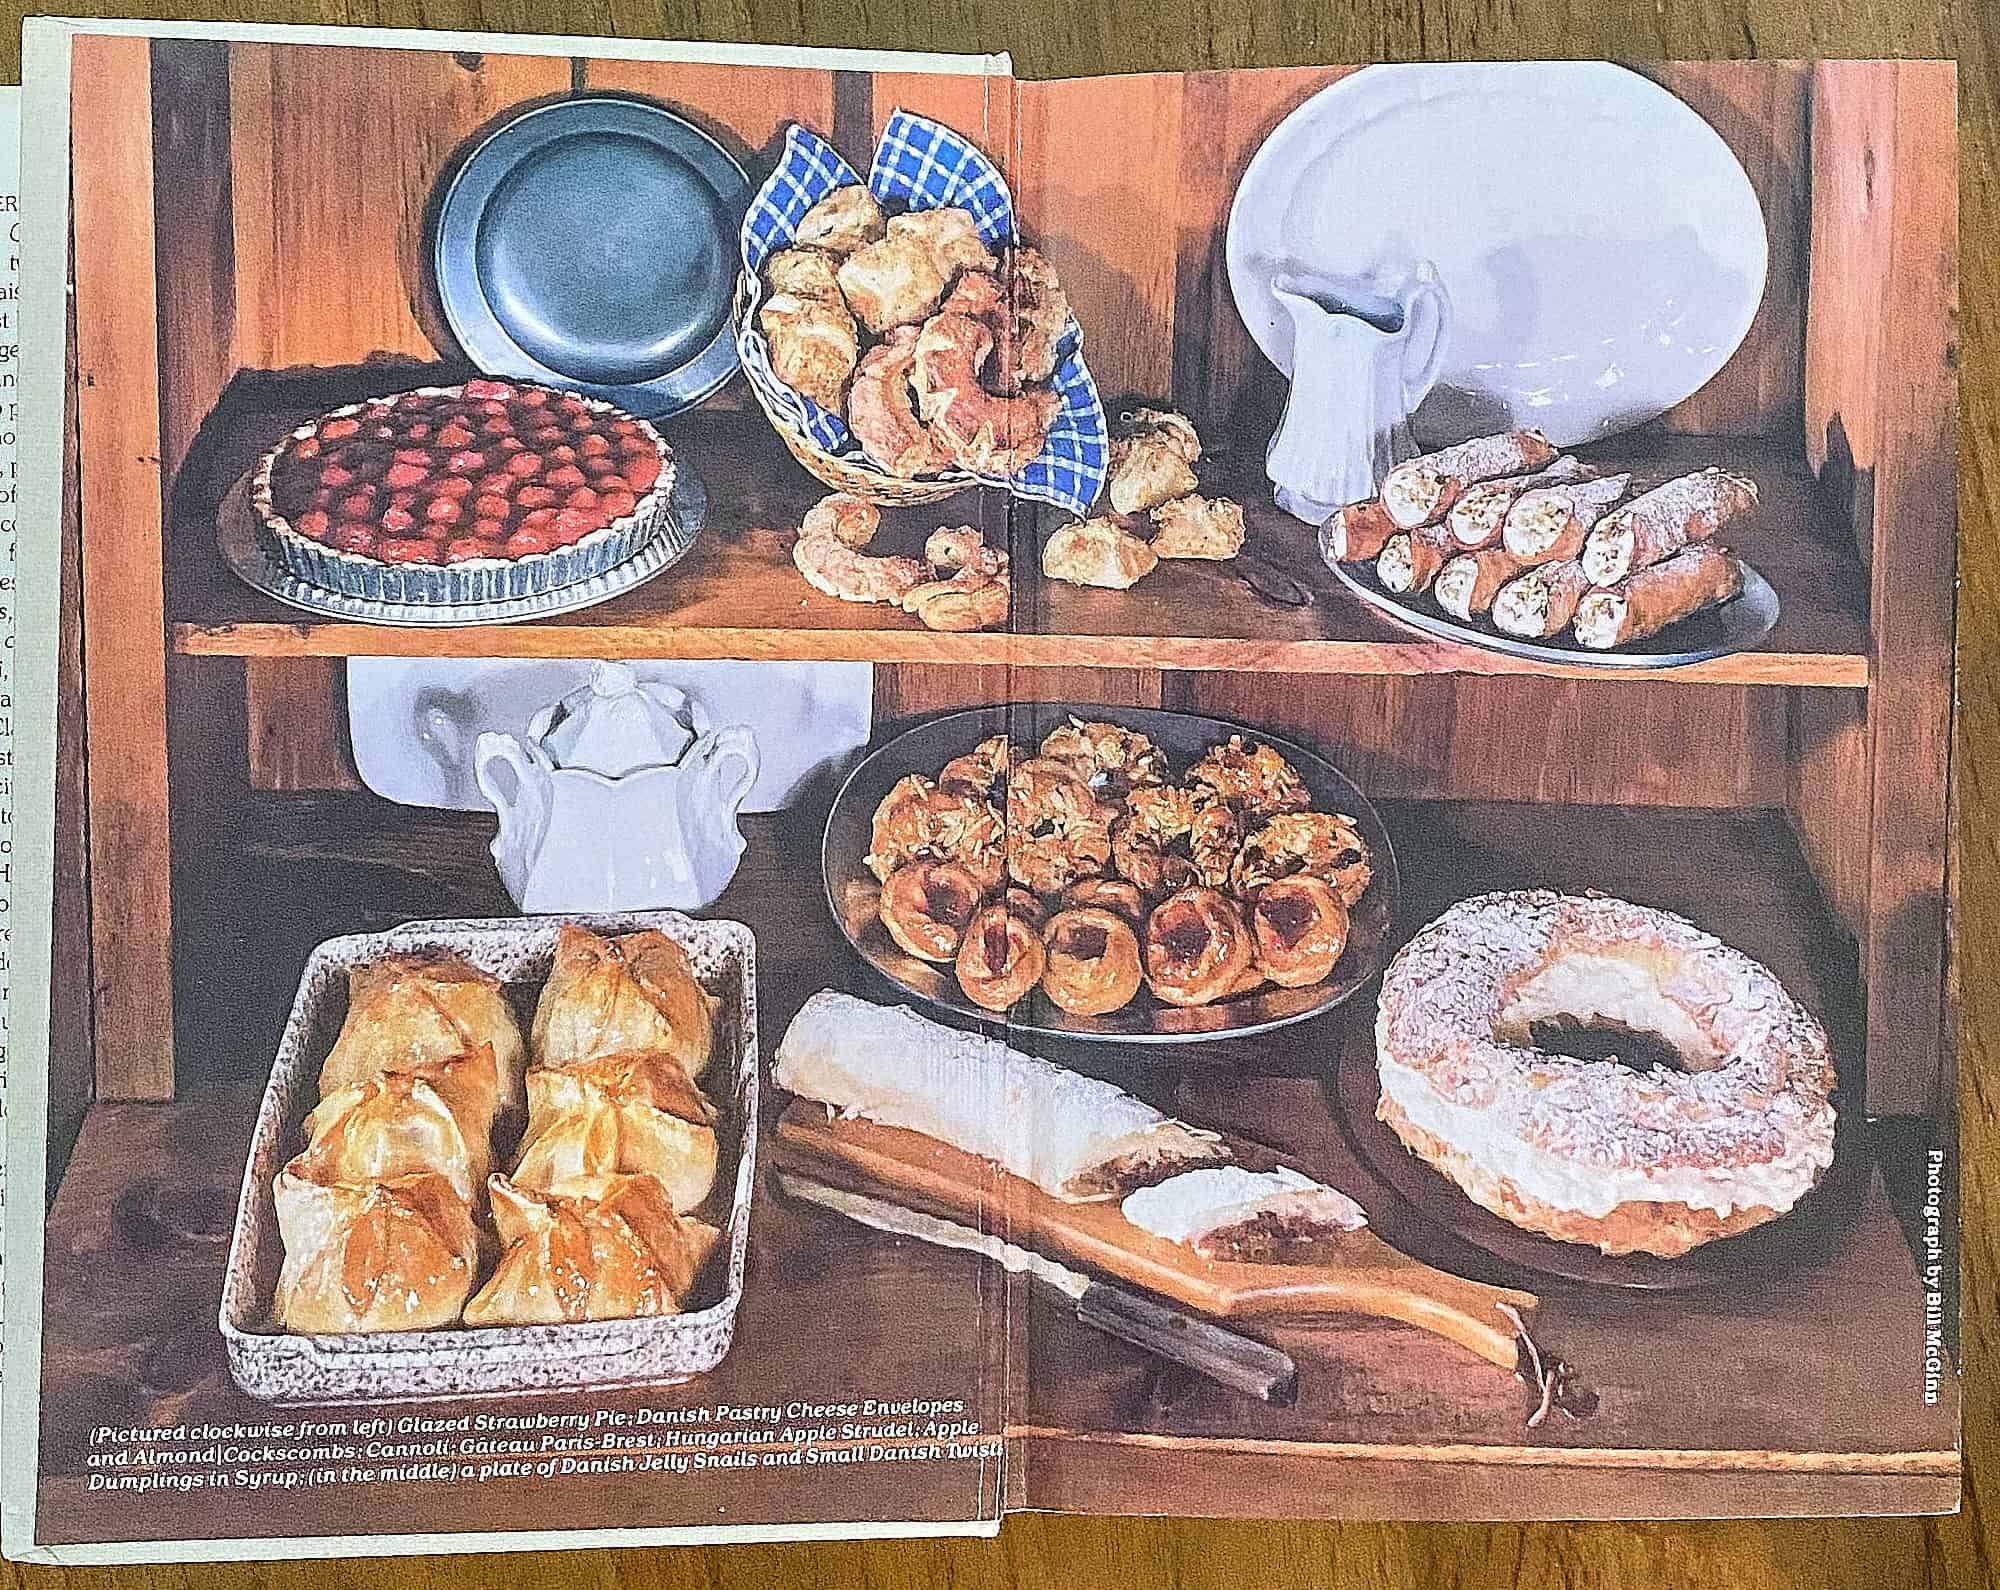
The starting point for this dough came from an older pastry book I found while used book shopping, The Complete Book of Pastry, Sweet & Savory by Bernard Clayton, Jr.. I love to browse around for old cookbooks, especially ones that have some majorly retro-styled food photography or illustrations and this book has both. Plus, it’s filled with some great recipes. The basic recipe calls for shortening, so I substituted that with butter and slightly reduced the water. And, full disclosure, I used salted butter in mine. I always have salted butter around, so that’s what I used. But that may be too salty for you, so use some unsalted butter and add in a good pinch of salt, maybe a teaspoon or so.
And, as you can see from the photos, this is really just a pie dough recipe. You can fill it with whatever you like, but depending on what that is, you may need to par or fully bake it before it’s filled. I’m planning on getting a recipe for the blueberry filled version I made with this crust up on the site very soon. If you need a fully baked crust before you fill your pie, I would start checking it around 25-30 mins and see how it’s browning. For a par baked crust aim for about 10-15 mins. And for a fruit filled version usually 50-60 mins will do the trick, you’ll want to make sure the filling is rapidly bubbling. Now onto the recipe…


Since I don’t make pies all that frequently, I never have lard or shortening around. I also just like an all butter pie crust. It’s simple, to the point, mo’ butter, mo’ better. Plus, I ALWAYS have butter.


Flaky All-Butter Pie Crust Recipe – Easy, Buttery & Foolproof
The Only Pie Crust Recipe You’ll Ever Need
This all-butter pie crust recipe is flaky, buttery, and incredibly easy to make.
I love pie, but every time I go to make one, I end up checking five different dough recipes. So I finally decided to perfect my go-to flaky all-butter pie crust recipe—and now I’m sharing it with you! This easy pie crust is buttery, tender, and versatile, perfect for everything from classic fruit pies to savory quiches and galettes. Plus, it freezes well, so you can always have homemade pie dough ready to go.
I’ll guide you through the ingredients, step-by-step instructions, and answer some common FAQs to ensure your pie crust turns out perfectly every single time.
Why You’ll Love This Flaky Butter Pie Crust Recipe
This all-butter pie crust is:
- Flaky and tender – The high butter content ensures a tender, flaky texture.
- Rich and buttery – The butter adds a rich flavor that complements any filling. Plus, you don’t need to use any shortening to make this pie crust. I usually don’t have shortening on hand, but I’m always fully stocked when it comes to butter.
- Easy to work with – Simple ingredients and straightforward instructions make this recipe accessible for all bakers. And, this is all done by hand, so no need for a food processor to make this pie crust.
- Versatile – Perfect for both sweet and savory pies.
Ingredients for This Easy Butter Pie Crust
- All-Purpose Flour – All-purpose flour is great here. If you have specialty pastry flour, go ahead and use that.
- Ice Water – Yes, you really do want ice water. The extra cold water will help keep your dough cold as you work with it so the butter doesn’t melt and it’ll inhibit any excess gluten formation. Basically, it’ll keep your dough flakey and tender.
- Butter – I used salted butter here. I always have salted butter on hand, and I have a good gauge as to how salty my final product will be when I use it. But use unsalted butter if that’s your preference. Make sure to add in the teaspoon of salt to season your dough.
- Salt – Like I mentioned above, you need salt if you’re using unsalted butter. I like diamond crystal kosher salt, but use what you like. The salt will season the dough and enhance whatever filling you’re using for your final pie, sweet or savory.
Step-by-Step Instructions for Making Pie Crust from Scratch
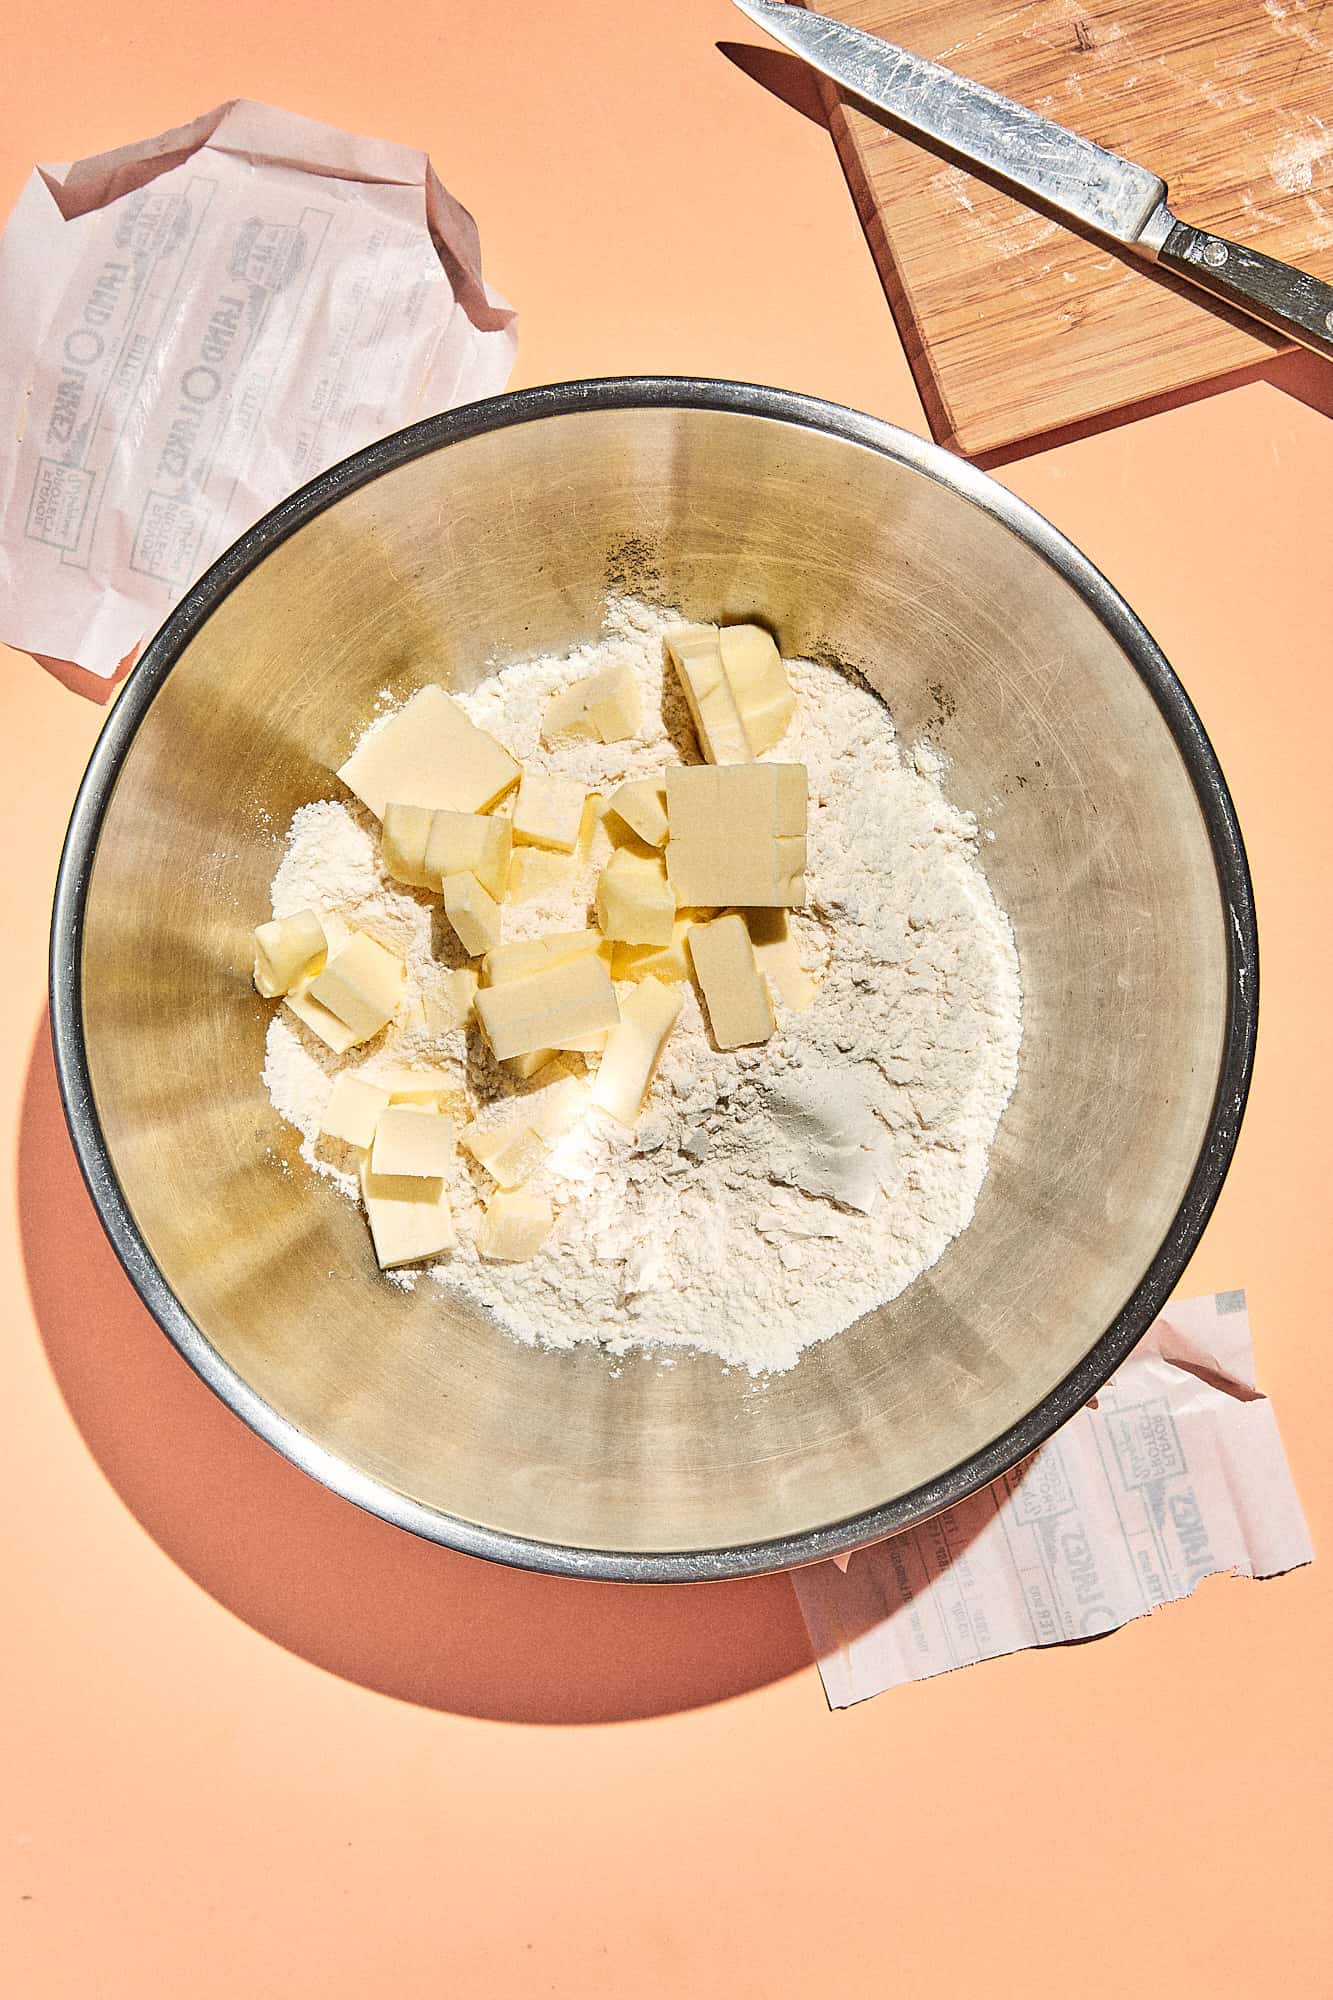
- Mix Flour and Salt
Combine flour and salt in a large bowl and mix well. - Add in Butter
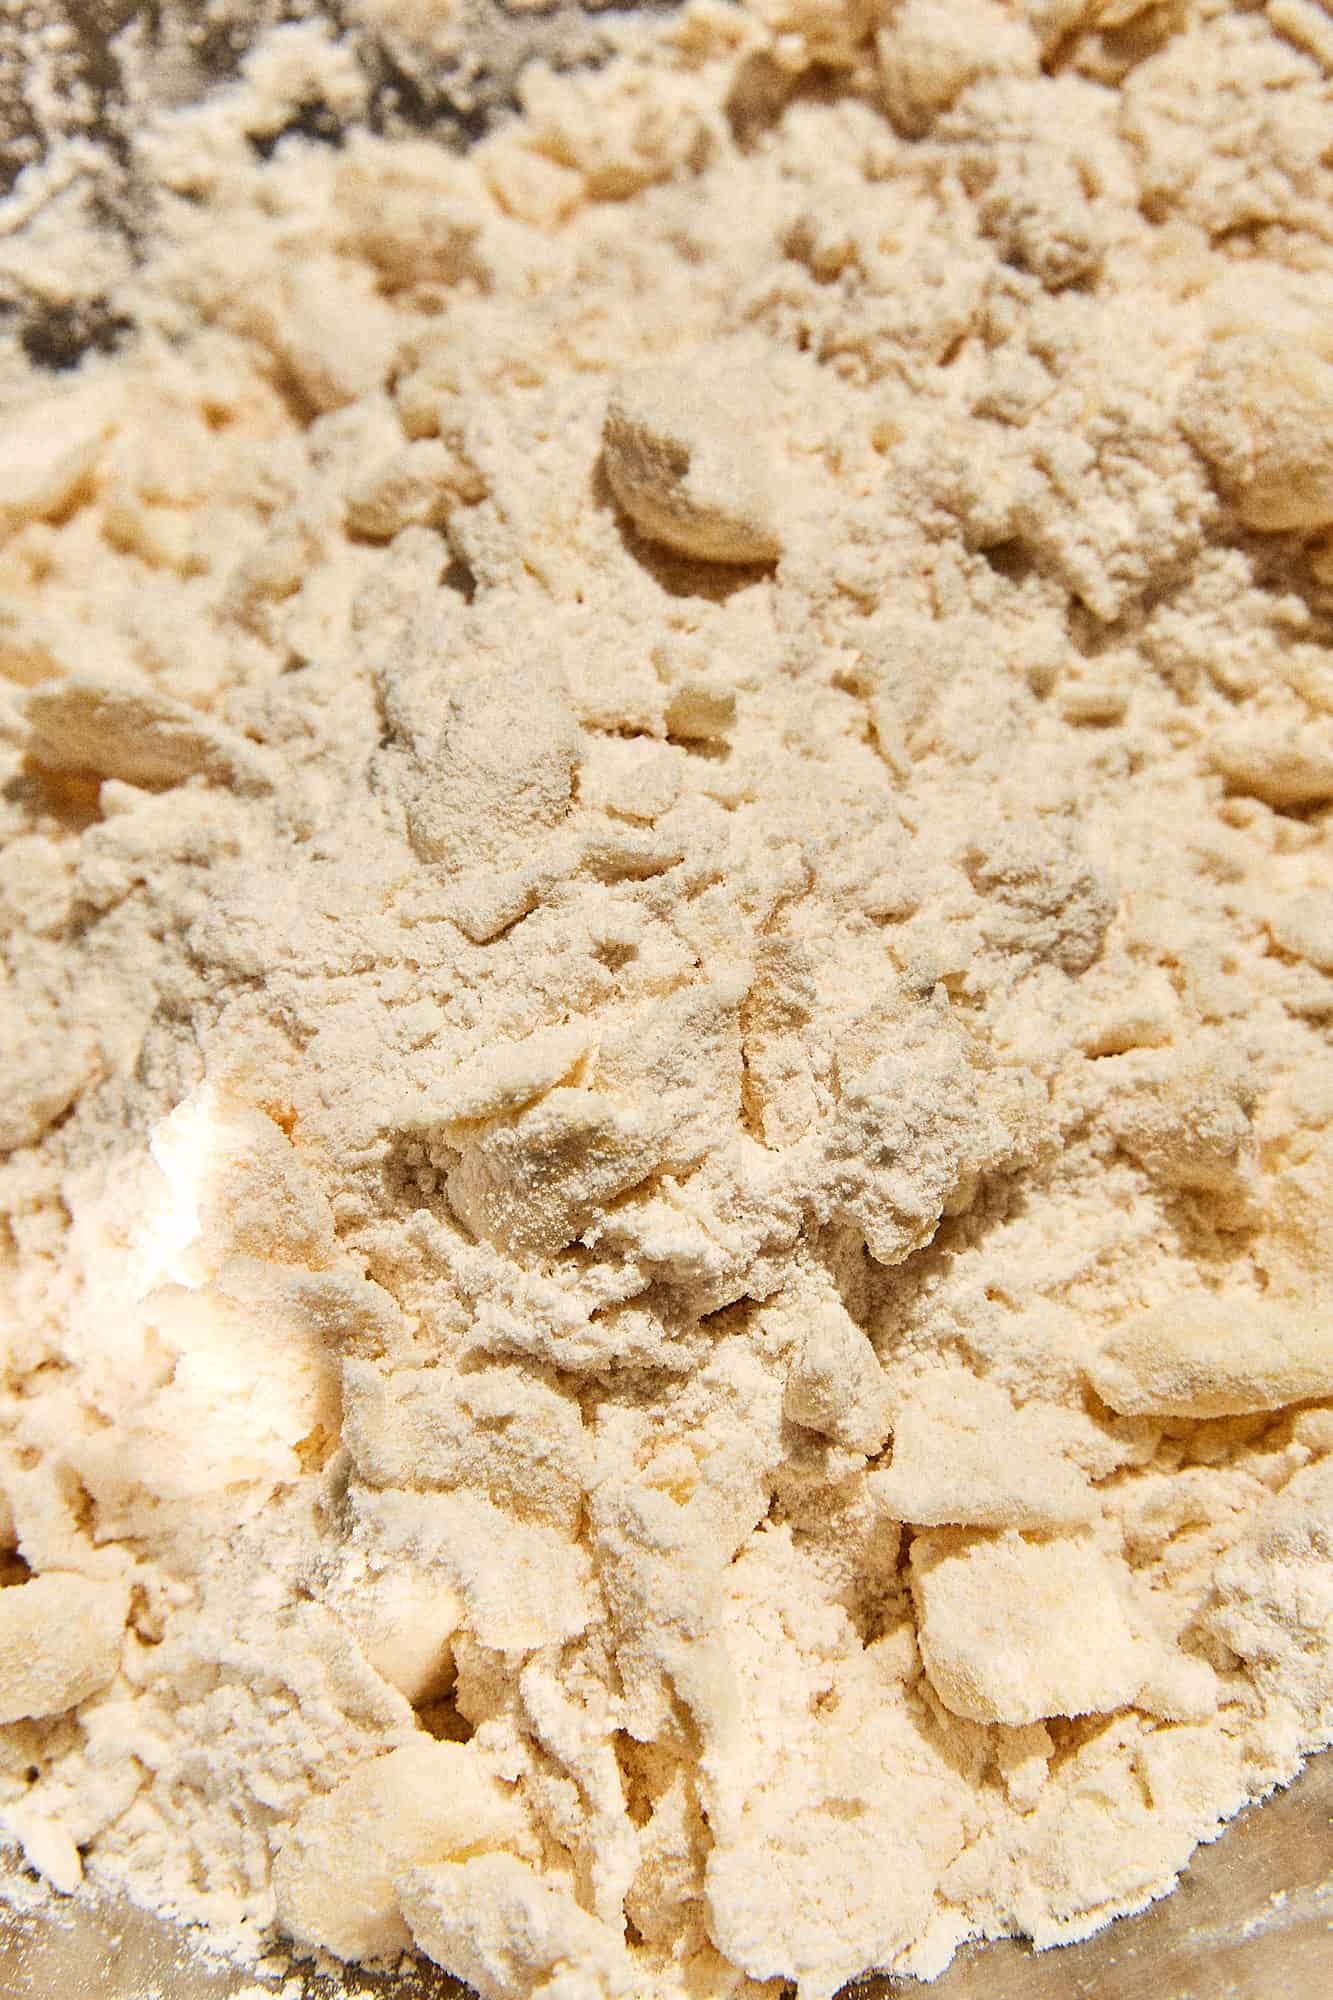
Add in cold cubed butter and toss to coat in the flour. Press and rub butter cubes between your fingers till you get a shaggy, pebbly texture. You’re aiming to have the largest bits of butter no bigger than the size of a chic pea. - Add in Ice Water
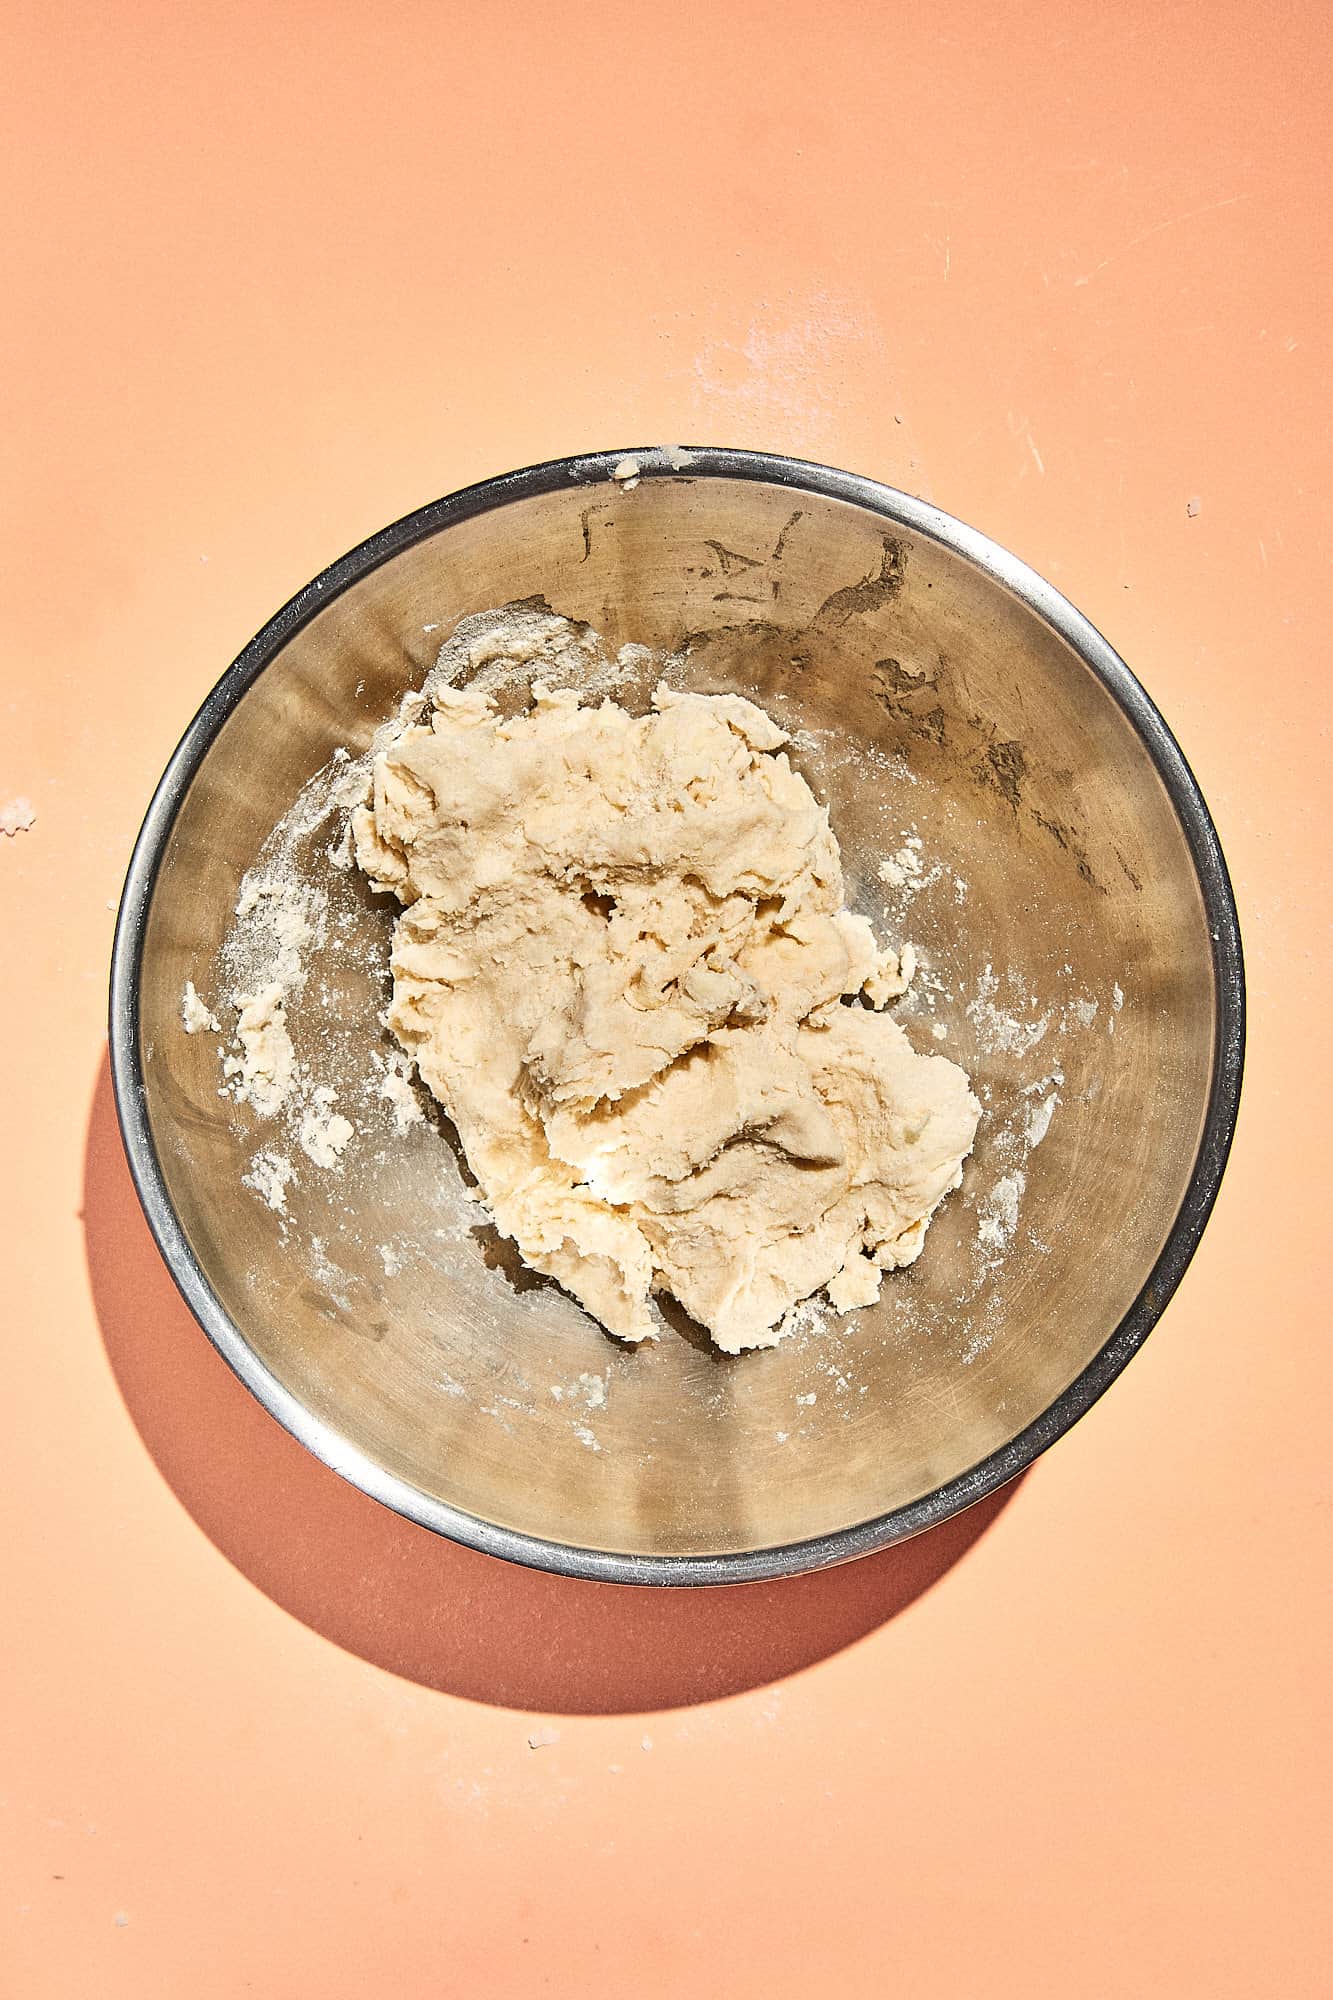
Add in your ice water and with a gentle kneading motion, mix to get your dough combined. You want the dough to just hold together, but you don’t want it to be sticky or tacky. It’ll still be a bit dry and crumbly, but once you let it rest the flour will hydrate and you’ll have a nice workable dough. - Divide Dough
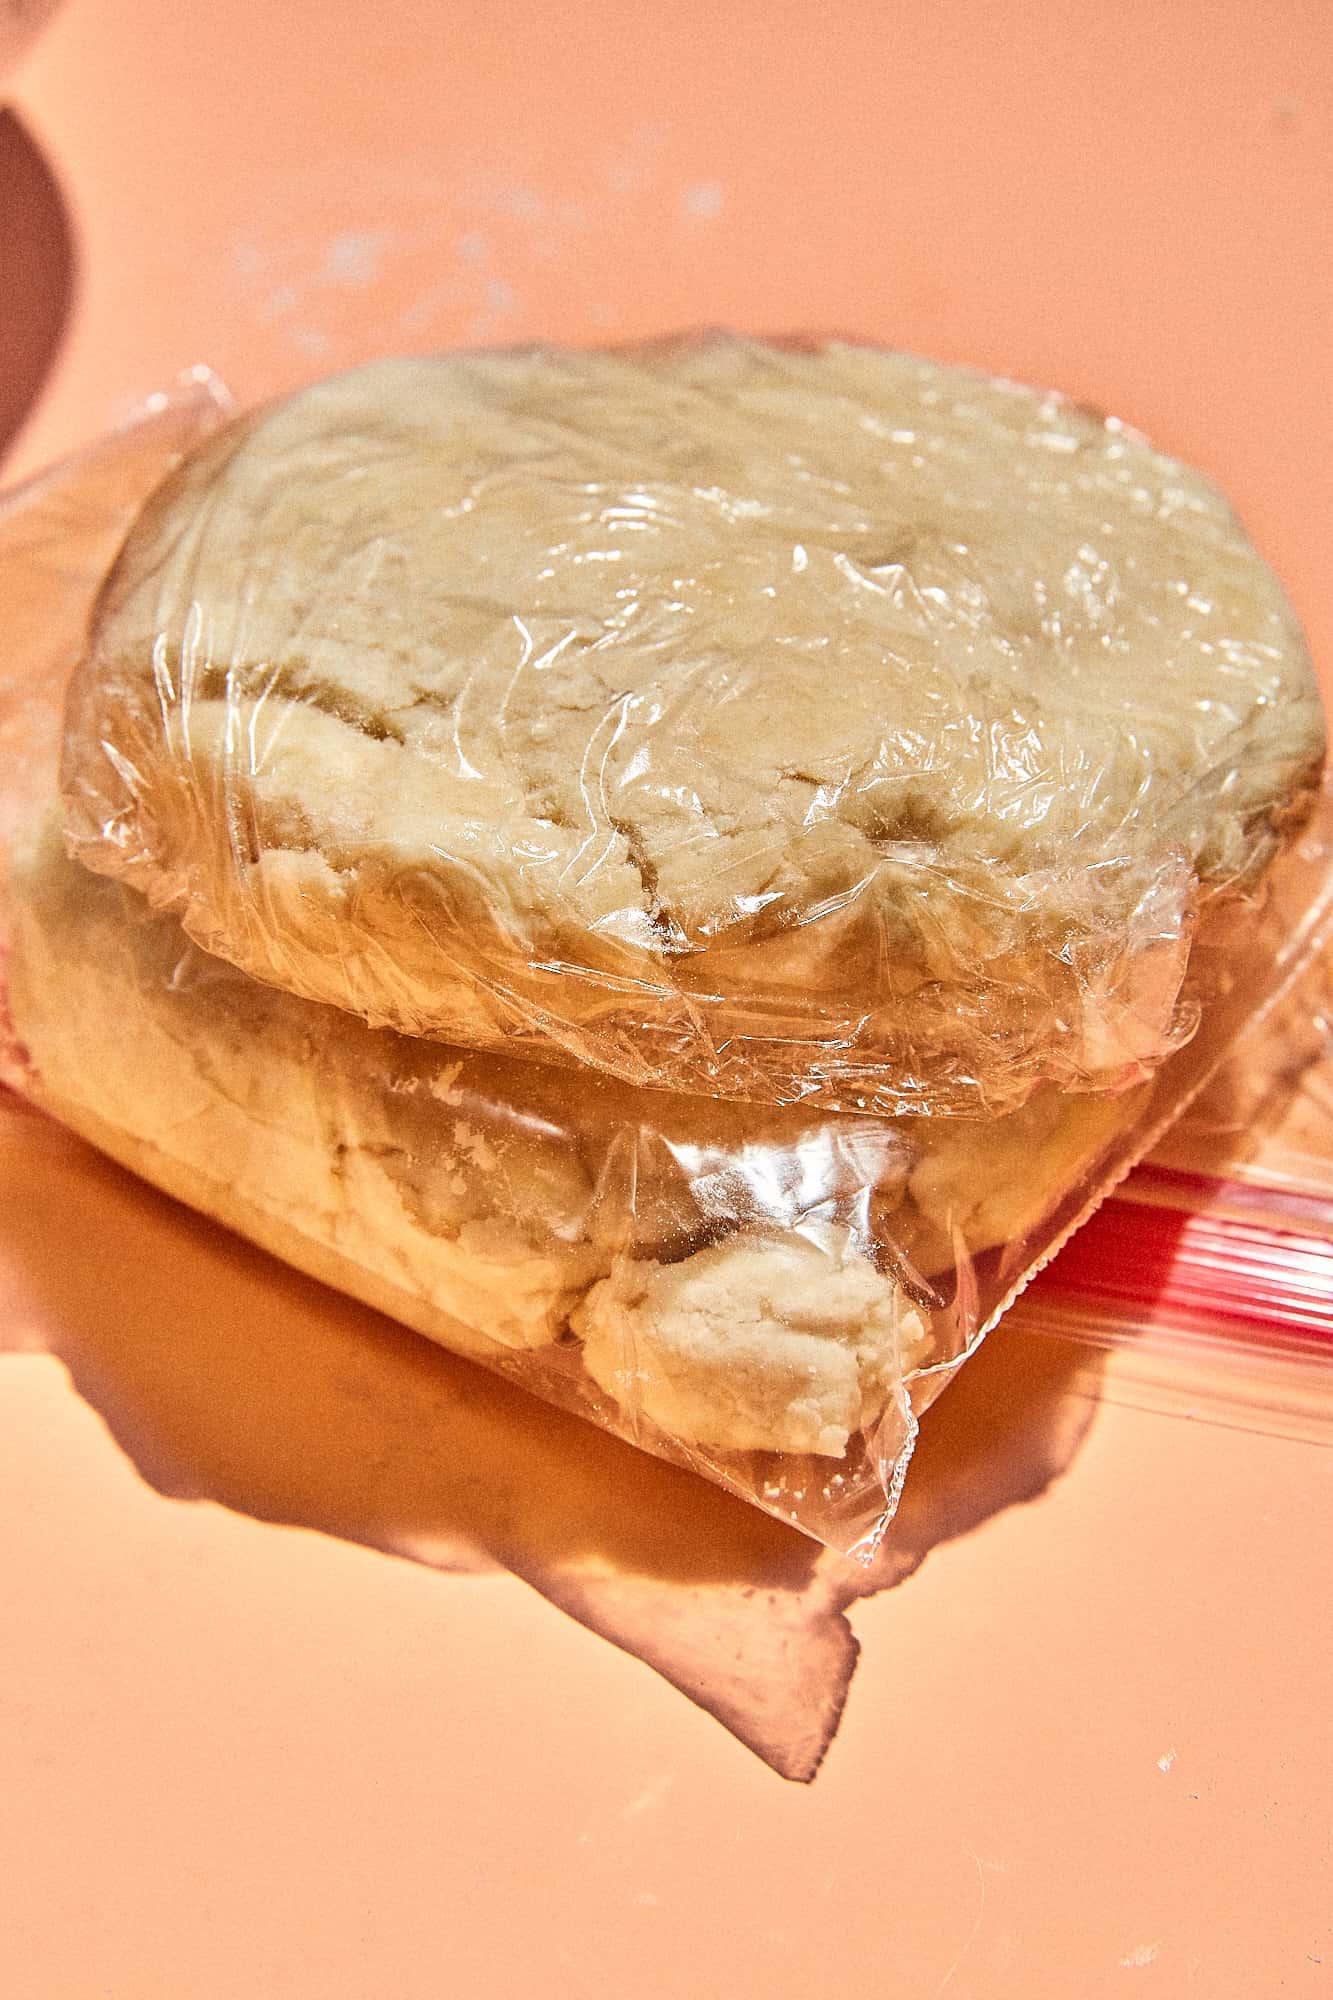
Divide dough in half, shape into two rough disks about 1” thick and wrap tightly with plastic wrap, a plastic bag or parchment. Let it rest in the refrigerator for at least an hour. If you’re planning on freezing a portion of the dough for later, go ahead and stash it away in the freezer now. - Roll Out and Shape Dough
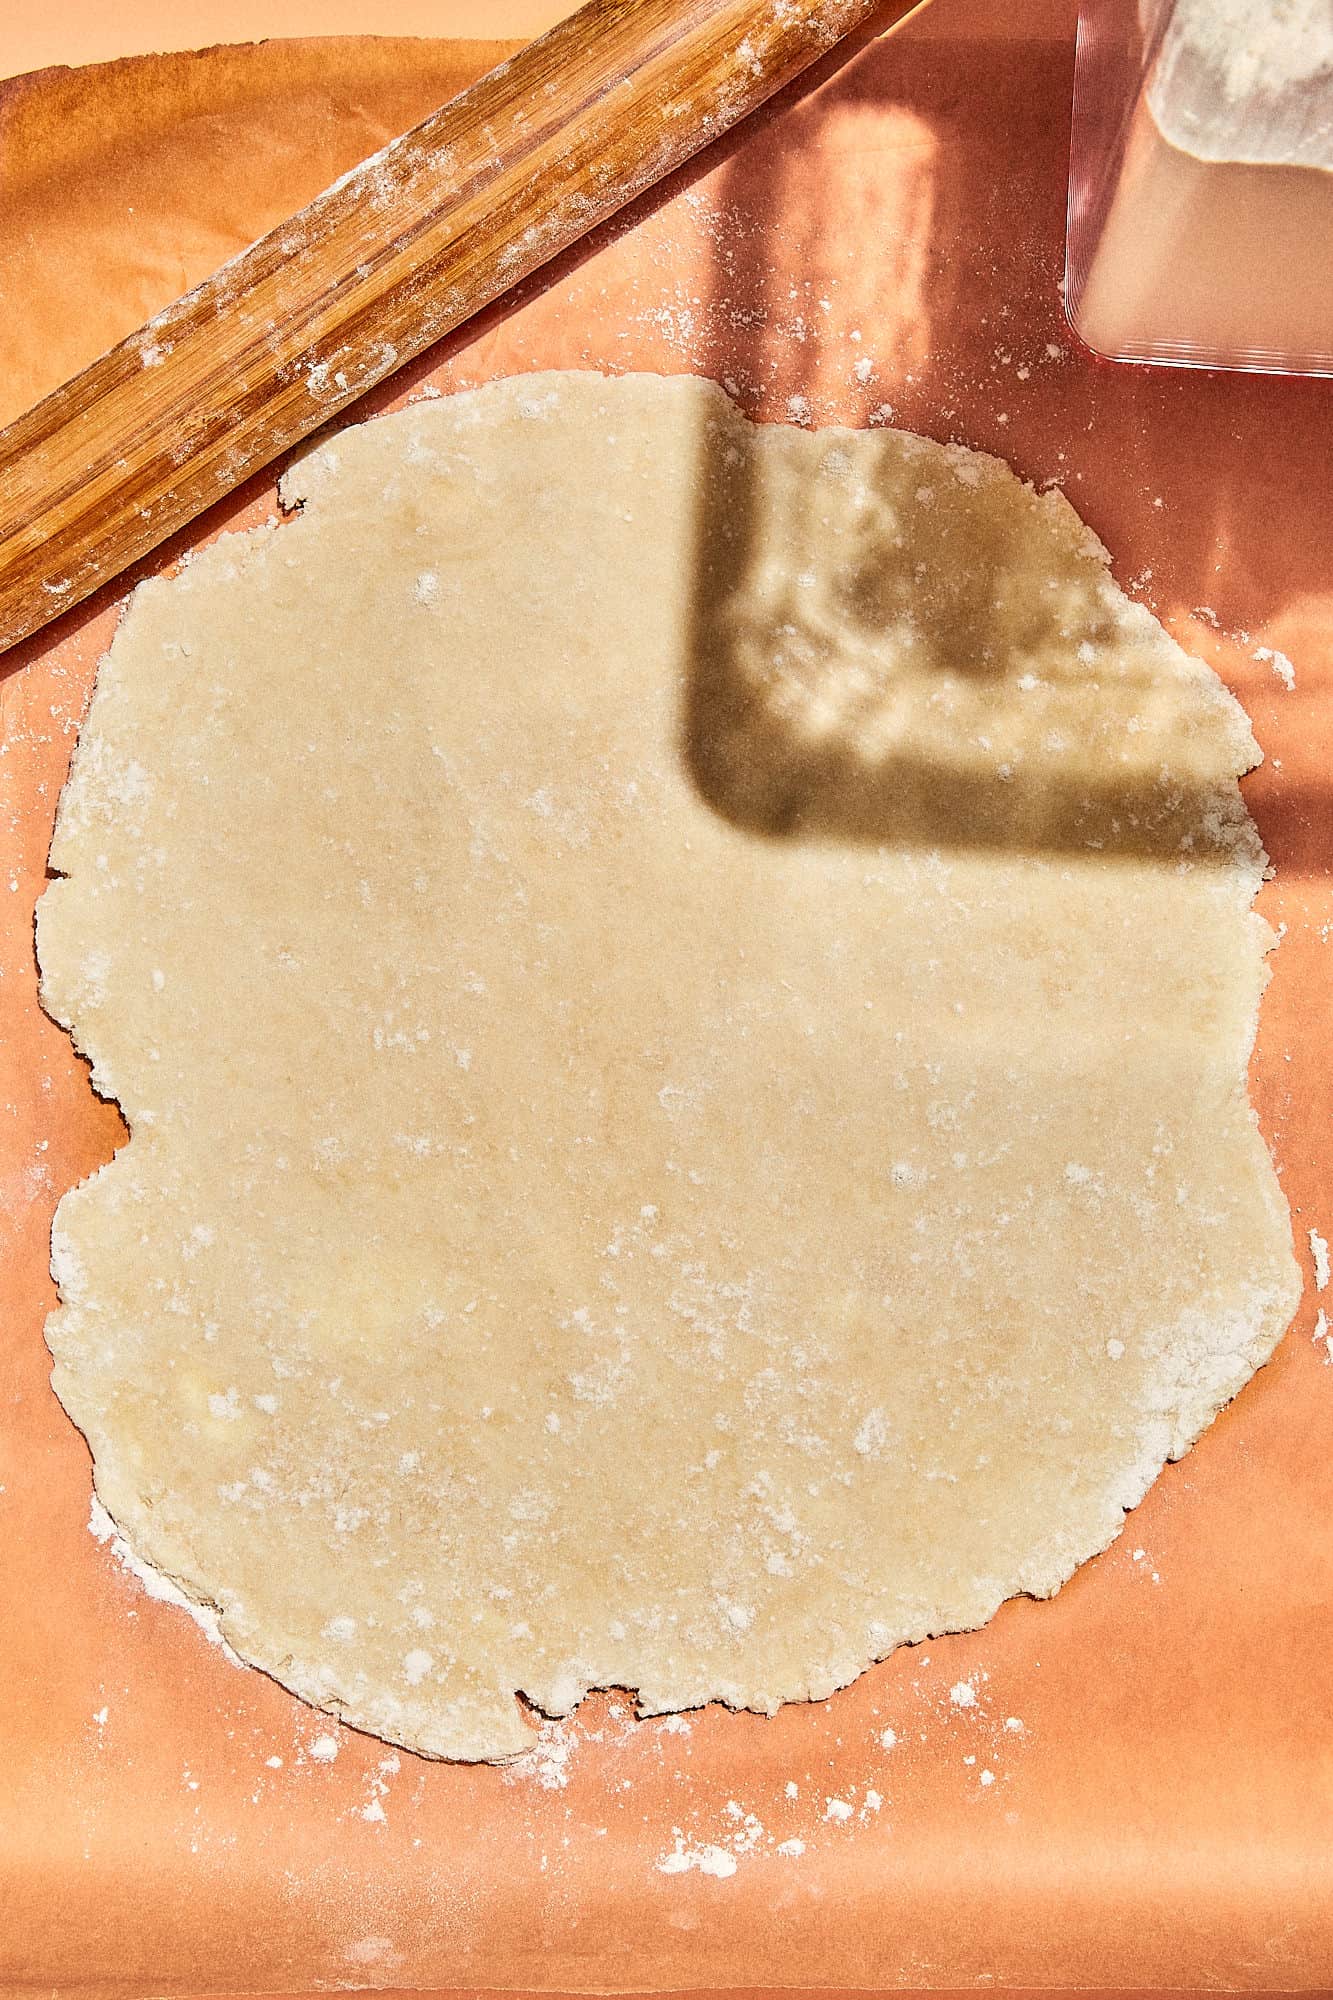
When you’re ready to shape your crust, pull your dough from the fridge and let it sit at room temp for about 5 mins. Start rolling out the dough on a lightly floured surface. In addition I typically use parchment as a base to roll out the dough, really insures nothing sticks. You’re aiming for about 1/8” thick, or till you have it large enough to fit in your pie pan with about an inch overhang so you can get that nice crimped edge. - Transfer to Pie Dish
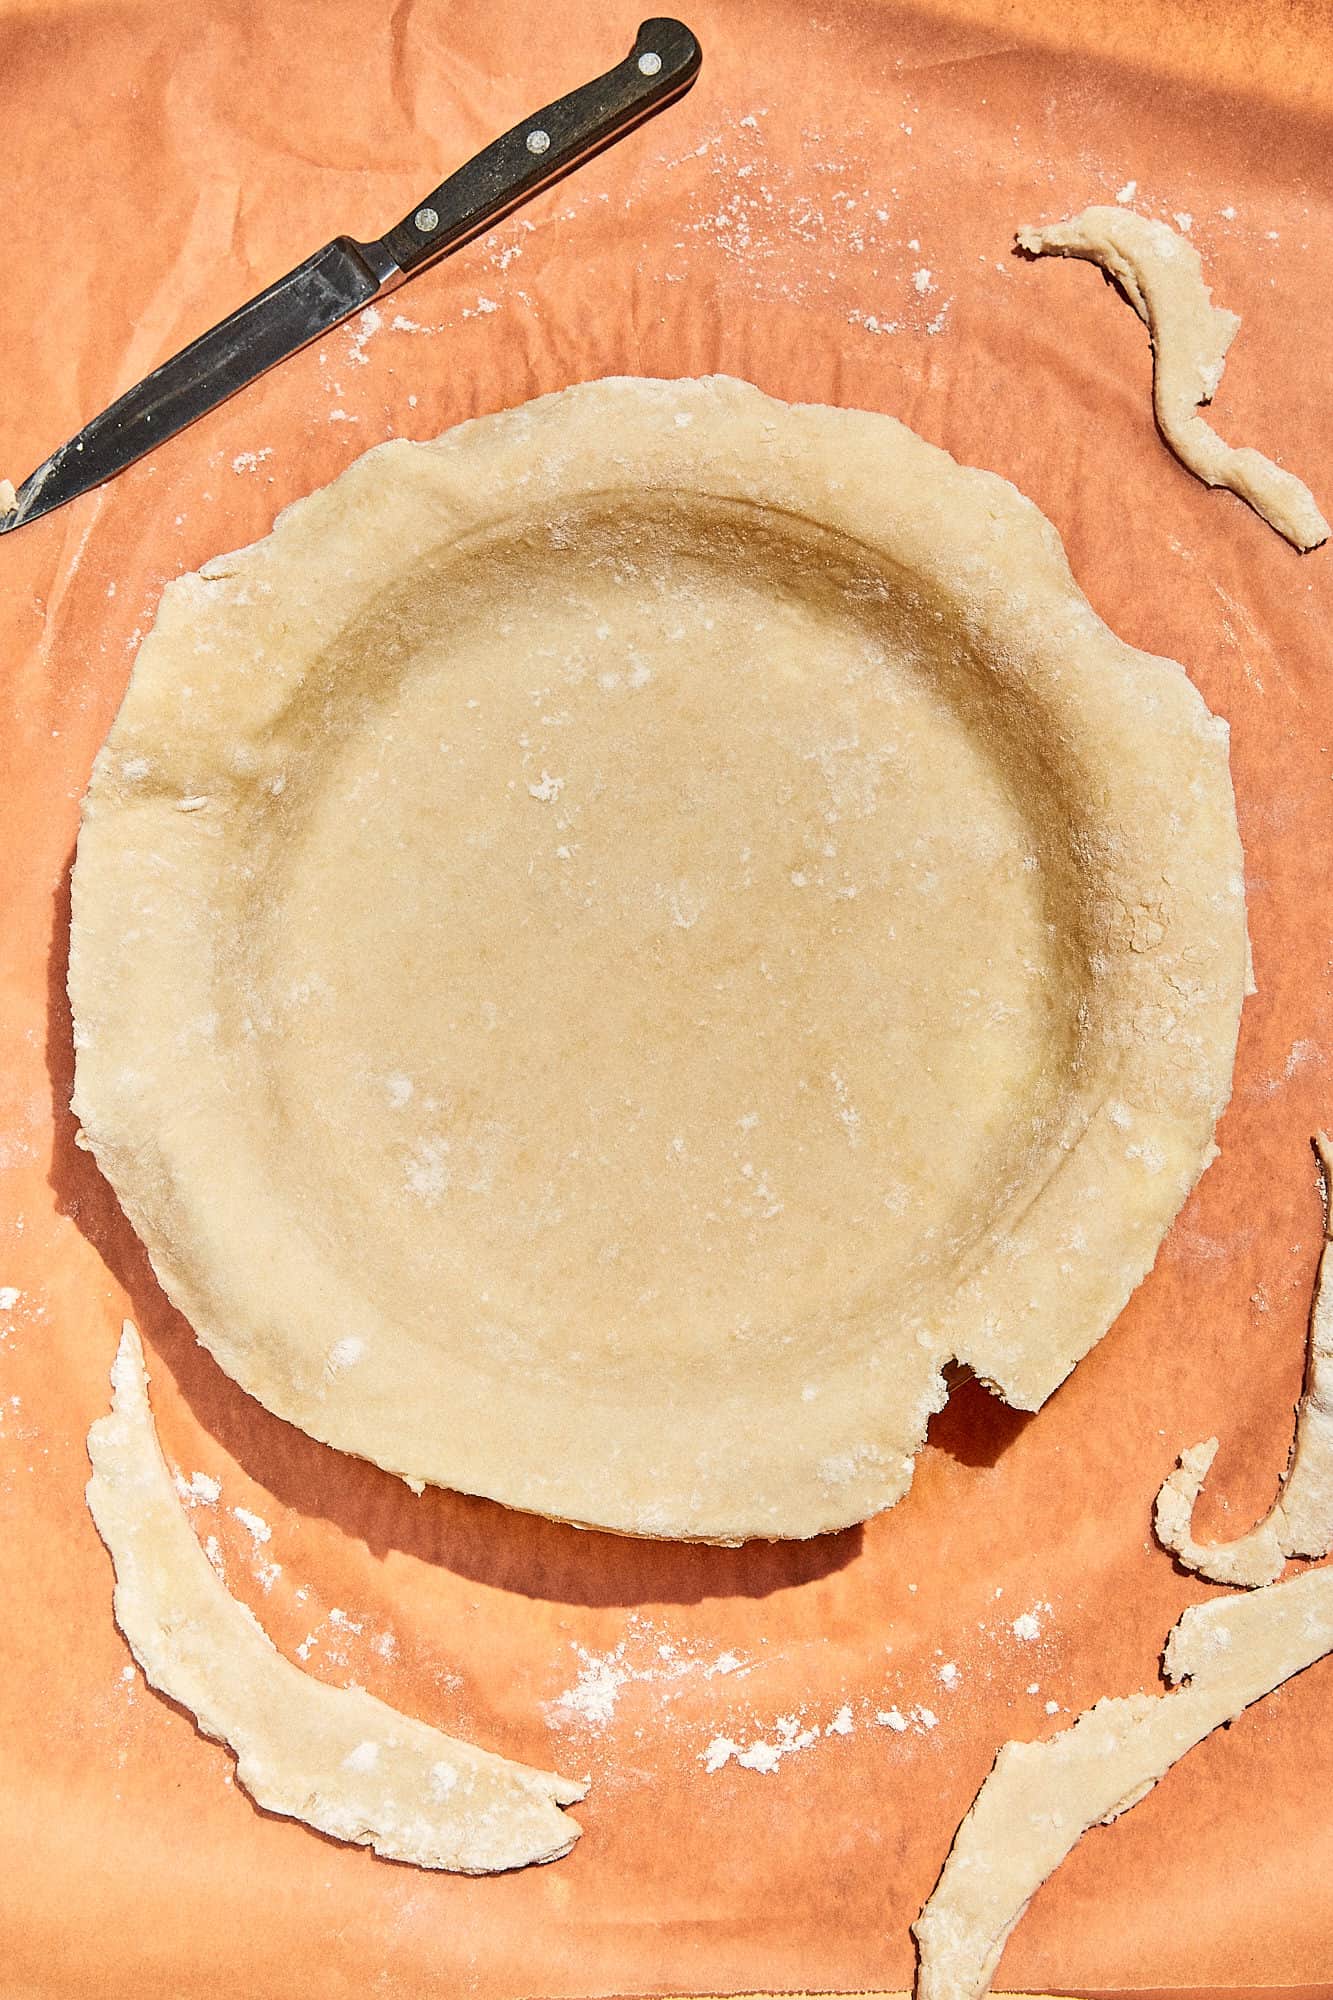
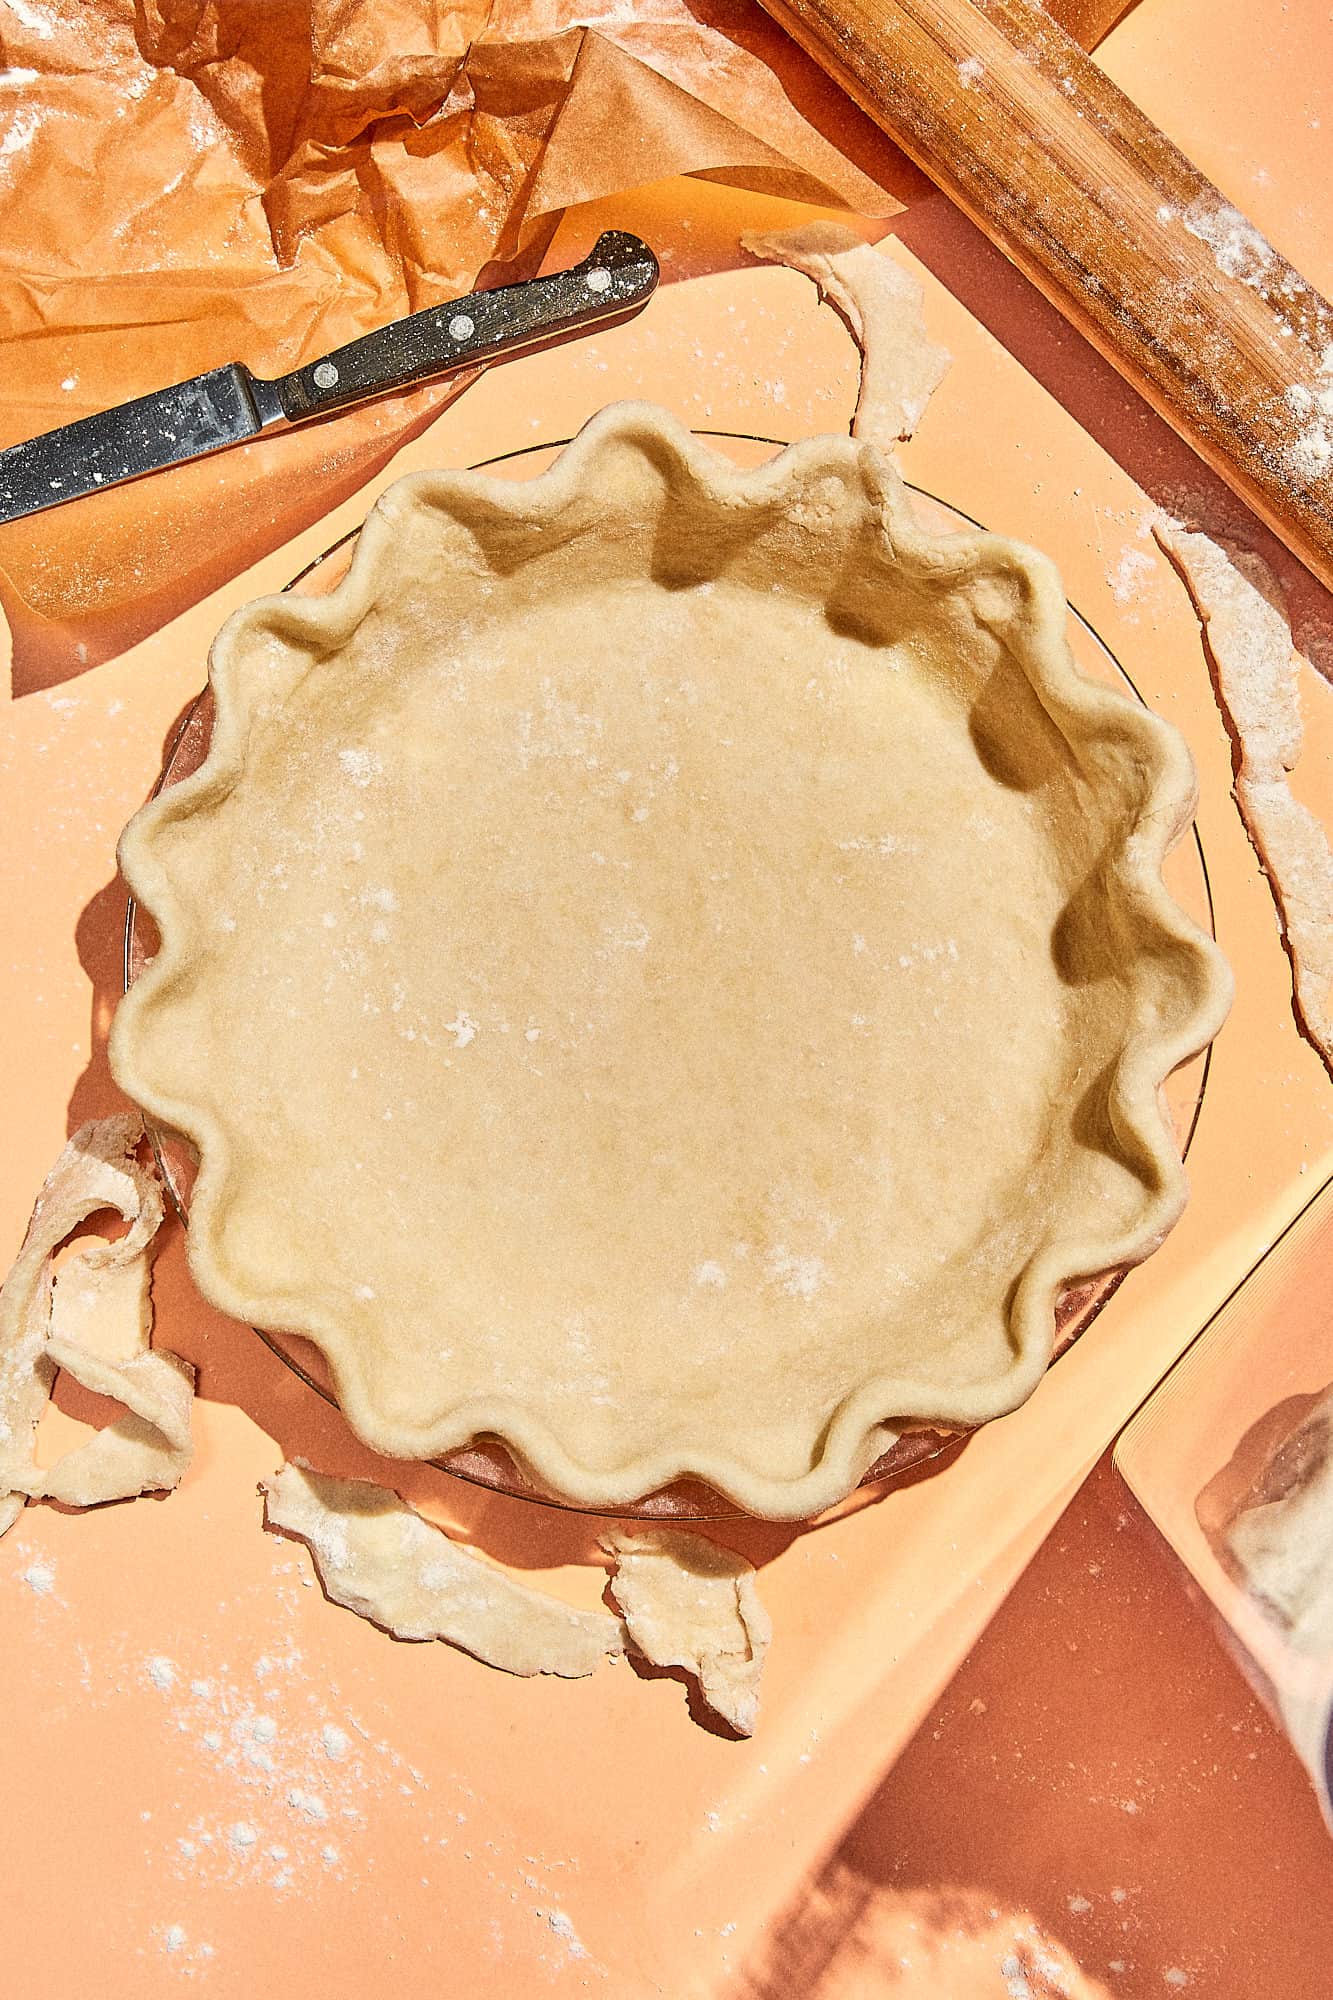
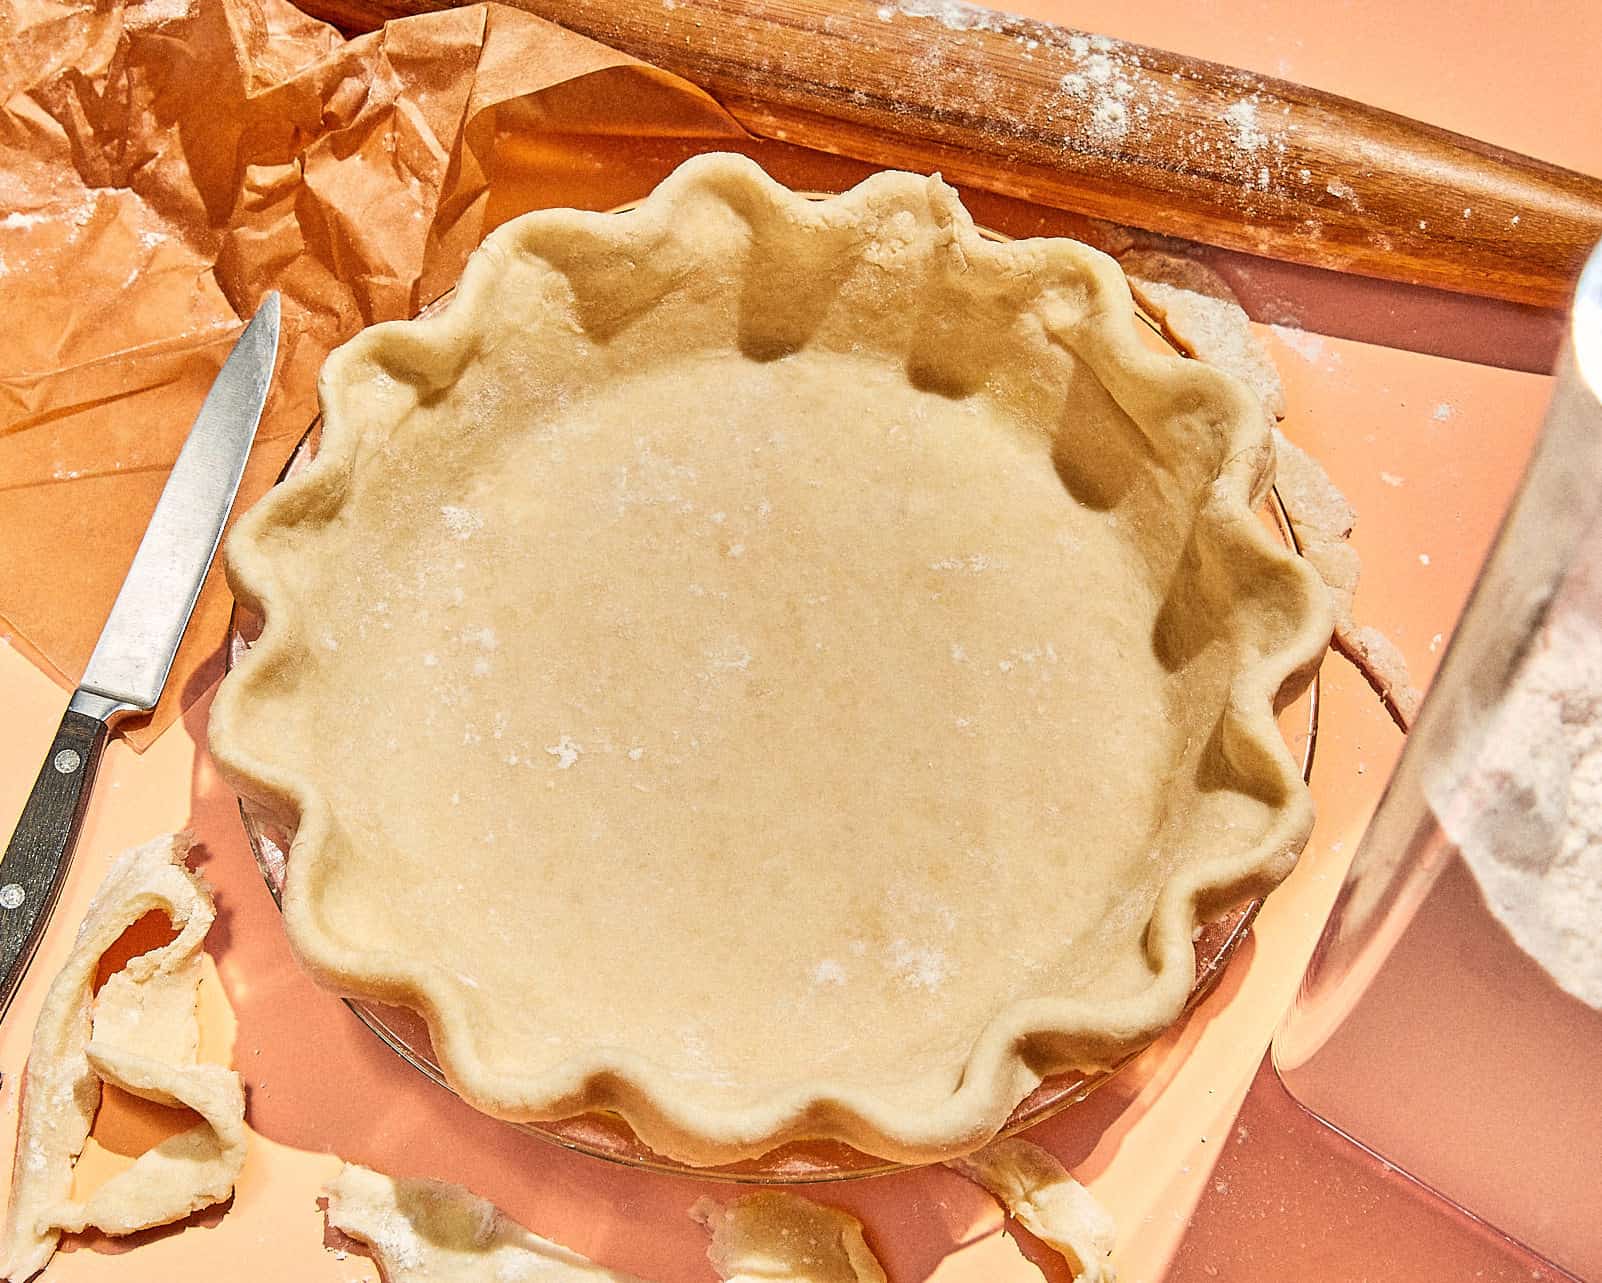
I like to use my pie dish as a template to trim off any extra dough. Roll that dough onto the rolling pin and transfer it into the pie dish. Fold the edges under and get it all crimped, waved or decorated however you like. You can go as simple as using a fork to crimp it or do an oversized wave like I did here. Before you bake, or fill it, I would recommend chilling your crust in the fridge for 10 – 15 mins before it goes in the oven. - Par-bake or Fully Bake Pie Dough
Depending on how you plan to use the crust you can either par bake or fully bake it now. You will want to line the crust with parchment and add in some pie weights to keep it from puffing up (or my choice, some dried beans, cause I never have pie weights). Bake it at 350°F (180°C) for about 25-30 mins. You can take out the weights after about 10-15 minutes to make sure you get the pie fully cooked and golden brown. - Baking a Fruit Pie
If you want to make a fruit pie, like I did with this crust, you don’t need to par bake it. I added in my blueberries and baked it at 350°F (180°C) for 50-60 mins. Or until I saw that the fruit filling was boiling. The crust was nicely baked, golden and crisp on the bottom. No soggy, sad crusts here.
Pie Crust FAQs: Tips for the Perfect Dough
What is the secret to a flaky pie crust?
Keeping your butter cold is key! Cold butter creates steam pockets when baked, giving you that perfect flaky texture.
Can I make pie crust without a food processor?
Absolutely! A pastry cutter or even your hands work just fine.
Should I Use Salted or Unsalted Butter?
You can use either. I like salted butter and always have it on hand, so that’s what I use. If you have unsalted butter, add in a teaspoon of salt to season your dough.
How Do I Prevent the Dough from Sticking?
Ensure your butter is very cold, I repeat, very cold! And make sure your work surface is lightly floured. If the dough becomes too warm, refrigerate it for a few minutes before continuing to roll it out.
How do I keep my pie crust from shrinking?
Make sure to chill the dough before rolling it out and avoid stretching it when fitting it into the pie dish.
Can I make this pie crust ahead of time?
Yes! Store wrapped dough in the fridge for up to 3 days or freeze for up to 3 months.
Can I Freeze the Dough?
Yes, you can freeze the dough for up to 3 months. Wrap it tightly in plastic wrap before freezing. Thaw overnight in the refrigerator before using. I like to make a big batch of this dough, divide it, and then freeze it so I have some on hand when I want to make a pie, galette or tart.
How Do I Prevent a Soggy Bottom Crust?
To prevent a soggy bottom crust, you can pre-bake (blind bake) the crust, especially if you’re using a wet filling that won’t cook for very long. But, for longer cooking pies, like a fruit pie, the key is to make sure your oven is properly pre-heated, and there isn’t anything else in the oven blocking the bottom heat from getting to your pie pan. Basically, don’t have anything cooking in the oven at the same time as the pie on a lower rack. You want all that heat to cook the bottom of the crust.
How Do I Know When the Dough Has Enough Water?
The dough should come together when pinched without being sticky. The texture will look sandy, but will hold together when you squeeze it. If you’re unsure, slowly add water little by little and check as you go. If you add a little at a time you will be fine.
More recipes using this homemade butter pie crust:
Easy Apple Galette – An easy apple galette made with flakey dough, layered with apples and topped with cinnamon crumble and toasted walnuts. An elegant rustic dessert that is unbelievably easy to make.
Blueberry Pie – A classic easy blueberry pie recipe. It’s simple, perfect and the peak of summer, and can even be made with frozen blueberries.
Apple Tart with Cardamom and Brown Sugar – A flaky apple tart with a creamy filling flavored with cardamom and sweetened with brown sugar.
Easy Peach Galette – An easy to make galette filled with fresh peaches.
Roasted Tomato Galette – A simple galette filled with savory roasted tomatoes and topped with a blue cheese whipped cream.
Did you make this recipe?
Did you make this Pie Crust? Leave a comment and review below with your thoughts or share your version on Instagram by tagging @TheMostHungry. I can’t wait to see it!

All Butter Pie Crust
Ingredients
- 2 C flour
- 1/2 C ice water
- 3/4 C 1.5 sticks butter very cold, cut into 1/2” cubes
- 1 tsp salt only needed if you’re using unsalted butter
Instructions
- Combine flour and salt in a large bowl and mix well. Add in cold cubed butter and toss to coat in the flour. Press and rub butter cubes between your fingers till you get a shaggy, pebbly texture. You’re aiming to have the largest bits of butter no bigger than the size of a chic pea.
- Add in your ice water and with a gentle kneading motion mix to get your dough combined. You want the dough to just hold together, but you don’t want it to be sticky or tacky. It’ll still be a bit dry and crumbly, but once you let it rest the flour will hydrate and you’ll have a nice workable dough.
- Divide dough in half, shape into two rough disks about 1” thick and wrap tightly with plastic wrap, a plastic bag or parchment. Let it rest in the refrigerator for at least an hour. If you’re planning on freezing a portion of the dough for later, go ahead and stash it away in the freezer now.
- When you’re ready to shape your crust, pull your dough from the fridge and let it sit at room temp for about 5 mins. Start rolling out the dough on a lightly floured surface. In addition I typically use parchment as a base to roll out the dough, really insures nothing sticks. You’re aiming for about 1/8” thick, or till you have it large enough to fit in your pie pan with about an inch overhang so you can get that nice crimped edge.
- I like to use my pie dish as a template to trim off any extra dough. Roll that dough onto the rolling pin and transfer it into the pie dish. Fold the edges under and get it all crimped, waved or decorated however you like. You can go as simple as using a fork to crimp it or do an oversized wave like I did here. Before you bake, or fill it, I would recommend chilling your crust in the fridge for 10 – 15 mins before it goes in the oven.
- Depending on how you plan to use the crust you can either par bake or fully bake it now. You will want to line the crust with parchment and add in some pie weights to keep it from puffing up (or my choice, some dried beans, cause I never have pie weights). Bake it at 350°F (180°C) for about 25-30 mins. You can take out the weights after about 10-15 minutes to make sure you get the pie fully cooked and golden brown.
- If you’re planning on making a fruit pie, like I did with this crust, you don’t need to par bake it. I added in my blueberries (recipe for that coming very soon!) and baked it at 350°F (180°C) for 50-60 mins. Or until I saw that the fruit filling was boiling. The crust was nicely baked, golden and crisp on the bottom. No soggy, sad crusts here.
Did You Make This Recipe?
Leave a comment with your thoughts or share your version on Instagram by tagging @TheMostHungry. I’d love to see how you made it your own!


One thought on The Best Butter Pie Crust Recipe
OK. The pie crust looks amazing. NOW you need to fill it. You pick and I’ll consume. The book looks amazing as well. You’ll never run out of pastry ideas.. YUM!!!