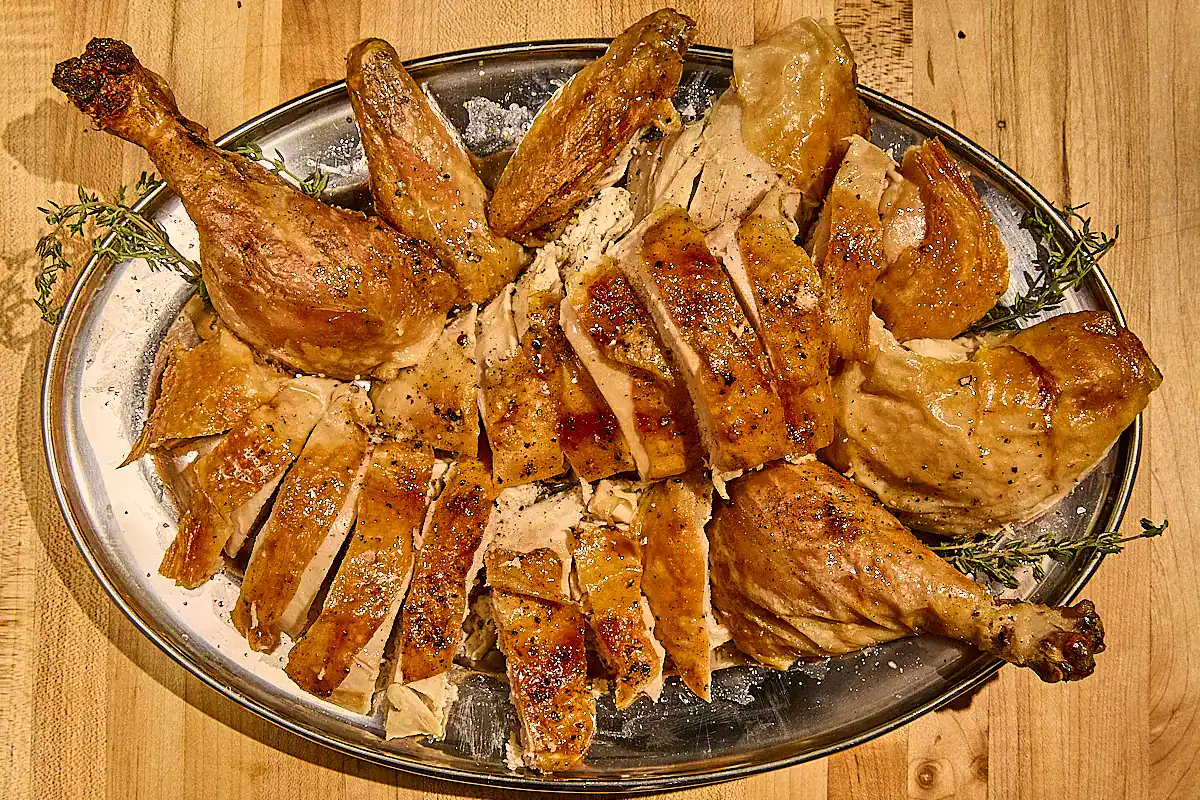
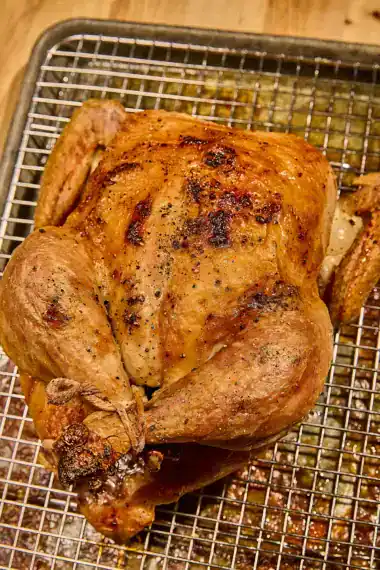
One of the simplest and best foods there is, without a doubt, is a perfectly roasted chicken. Crispy, golden-brown skin, tender meat that falls off the bone, all without being dry. Basically, I want what I imagine a French rotisserie chicken to be: moist, cooked to perfection, simple and utterly delicious.
And I have to say, this dry-brined roast chicken is exactly that. It’s my favorite way to roast a chicken, and it’s the same method I use when cooking a turkey. The key techniques are straightforward but make a huge difference. First, there’s the dry brine. Essentially salting the bird and letting it sit so that salt can effectively penetrate the meat of the bird to season it and also hold onto moisture as it cooks.
The other important bit, which may come as a shock: you want to cook your chicken above 165°F. In fact, well above that. All that juicy, tender, fall-off-the-bone action happens when the connective tissue and cartilage start to break down — and that’s not happening until around 175-180°F. For this recipe, the ideal final temperature I recommend is 200°F measured in the thickest part of the thigh. The trick is to roast the chicken low and slow, so it reaches that temperature and cooks evenly without drying out.
For this particular recipe I gave you the most basic seasonings, salt, pepper, and some fresh thyme. But use this method as a base and season the bird however you like. Keep it simple like I did here, or go wild and season it however you like. Either way, you’ll end up with a perfectly cooked chicken that is incredibly delicious.
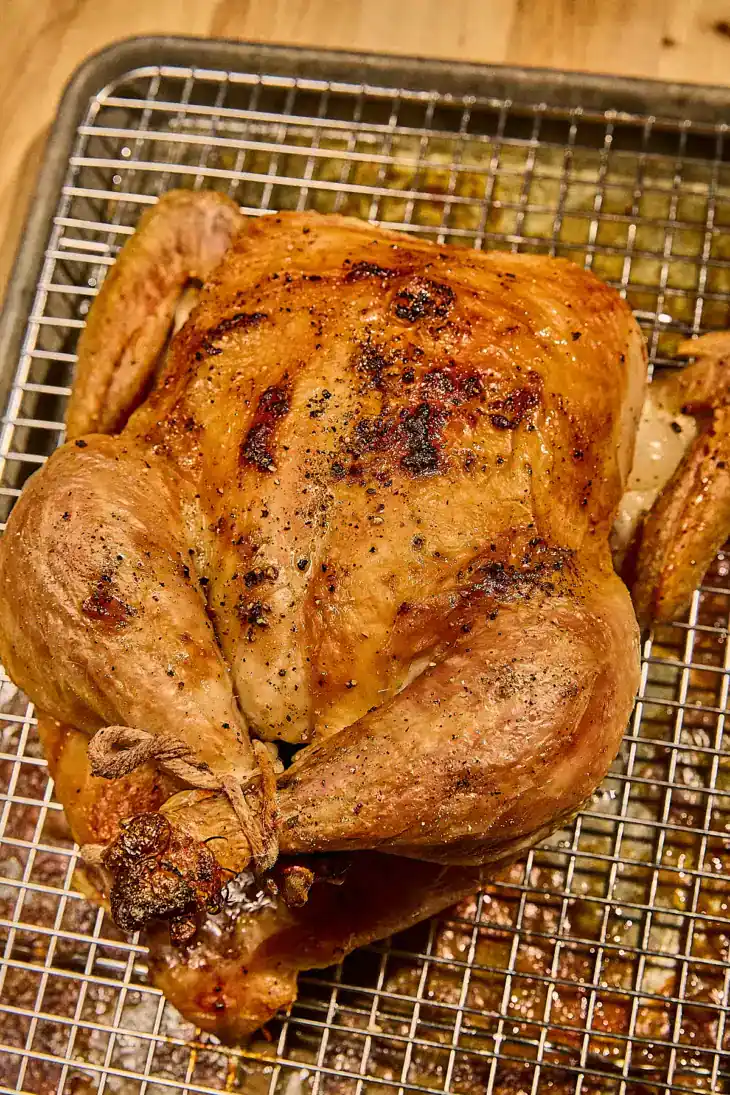
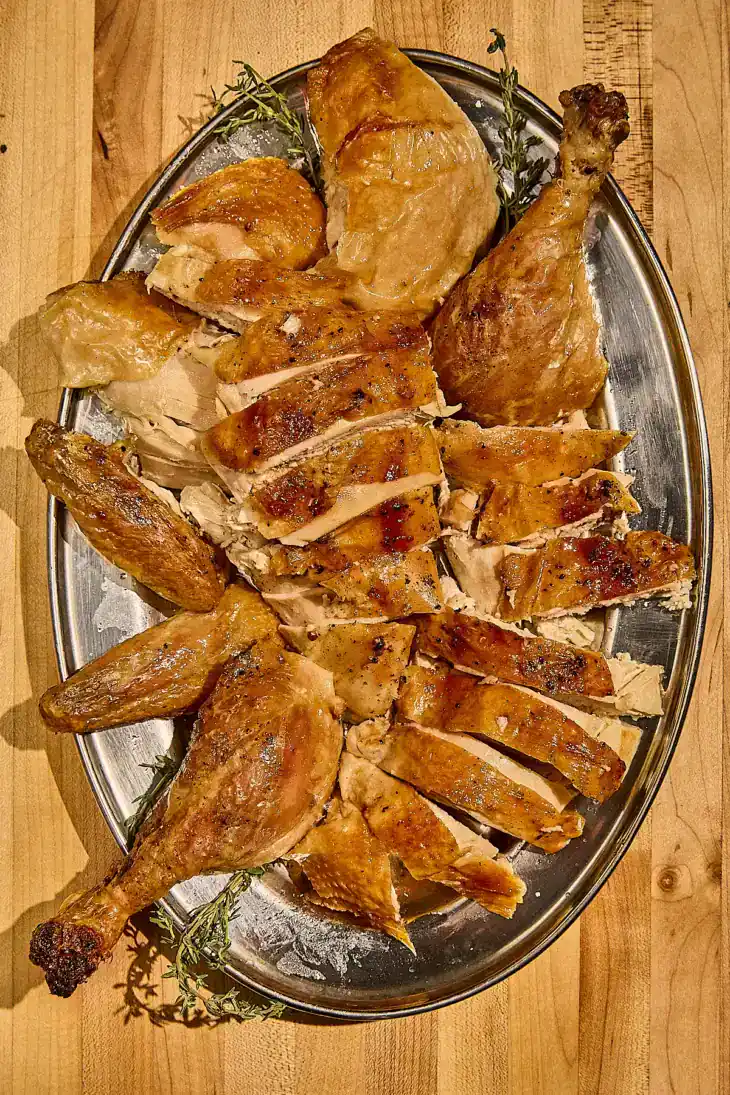
Basically, I want what I imagine a French rotisserie chicken to be: moist, cooked to perfection, simple and utterly delicious.
Why Dry Brining Makes the Best Roast Chicken
Dry brining is hands-down the best way to get juicy chicken with golden, crisp skin and succulent meat. By salting the bird ahead of time, you get evenly seasoned meat that retains a lot of moisture once roasted. It’s naturally juicy, and tender all the way through.
It’s also easier and cleaner than a wet brine — no buckets of salt solution or spills in the fridge. Just salt, air, and some time. As a bonus, the uncovered brine helps dry out the skin, which means it’ll crisp up to perfection in the oven.
If you’ve ever had a rotisserie chicken and wondered why it’s so juicy, here is your answer.
Simple Ingredients for Perfectly Roasted Chicken
- 1 whole chicken (about 3.75 lb, drained and giblets removed)
- 6 tbsp Diamond Crystal kosher salt (just over 1% of the chicken’s weight)
- 3 tbsp butter (or olive oil) – at room temperature
- Freshly ground black pepper
- Fresh thyme (optional)
Note: I recommend weighing the chicken after removing it from the packaging and draining off any excess liquid. My bird was labeled 4.5 lbs at purchase, but once drained with the giblets removed, it was actually 3.75 lbs — that’s a big difference! For that weight, I used 6 tablespoons of Diamond Crystal kosher salt. If you’re using a finer salt, be sure to measure by weight — not volume.
Dry Brine Salt Chart (Diamond Crystal Kosher Salt)
Here’s a quick reference chart for how much salt to use when dry-brining your chicken.
- for a 2.5 lb chicken use 4 tsp (11 g) of salt
- for a 3 lb chicken use 5 tsp (14 g) of salt
- for a 3.5 lb chicken use 5 ¾ tsp (16 g) of salt
- for a 3.75 lb chicken use 6 tsp (17 g) of salt
- for a 4 lb chicken use 6 ½ tsp (18 g) of salt
- for a 4.5 lb chicken use 7 tsp (20 g) of salt
- for a 5 lb chicken use 8 tsp (23 g) of salt
Notes: This chart is based on roughly 1% salt per weight of chicken. Diamond Crystal Kosher Salt weighs about 2.8 g per teaspoon — if you’re using another brand the volumetric measure will vary, use the weight in grams provided.
How to Dry Brine a Chicken
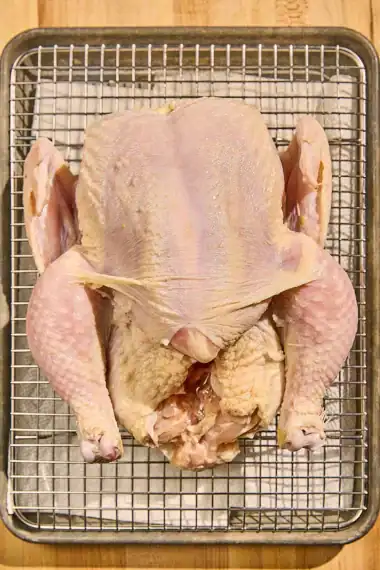
- Start by preparing your roasting setup. Line a baking tray with paper towels to catch any liquid that releases as the chicken brines, and place a wire rack on top.
- You want roughly 1% salt by weight of the chicken for this dry brine. For a 3.75 lb bird, that’s about 6 tablespoons of Diamond Crystal kosher salt. If using another brand or finer salt, use a scale to be accurate.
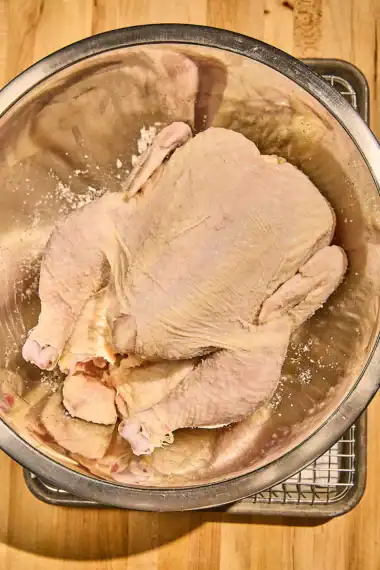
- To measure: place a large bowl on your digital scale and tare it. Remove the chicken from its packaging, take out the giblets, and drain off any liquid. Place the chicken in the bowl to get its true weight.
- In a separate small bowl, measure out the salt. Evenly sprinkle it over the entire chicken — inside and out — massaging gently to ensure it’s well coated. It might look like a lot of salt, but it’s exactly what the bird needs. Trust me!
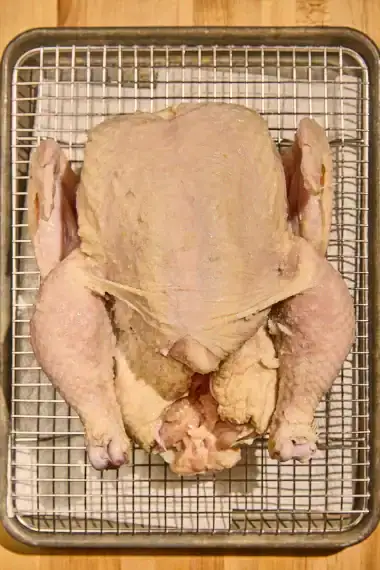
- Place the chicken on your prepared tray and refrigerate uncovered for at least 5 hours, or ideally overnight. As it brines, the salt will be absorbed and the skin will begin to dry — that’ll give us that crisp, golden skin when roasted.
Roasting Your Chicken to Perfection
- When you’re ready to roast, preheat your oven to 325°F (160°C).
- Remove the chicken from the fridge and discard the paper towels under the rack. Pat the chicken dry, inside and out, with fresh paper towels.
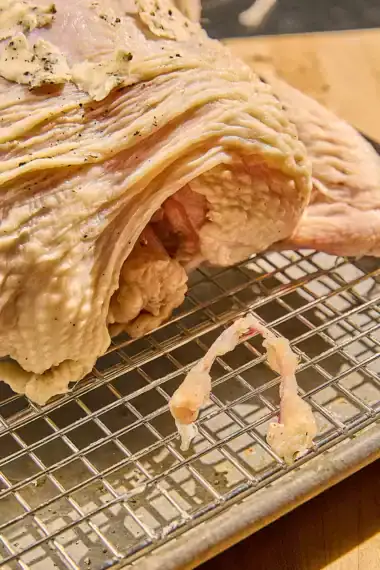
- Tie the legs together with twine and tuck the wing tips underneath.
- If you can, remove the wishbone — it makes carving SO much easier later. Use a small paring knife to trace along the wishbone at the top of the breasts, then gently pull it away from the meat and cut it free from the carcass.
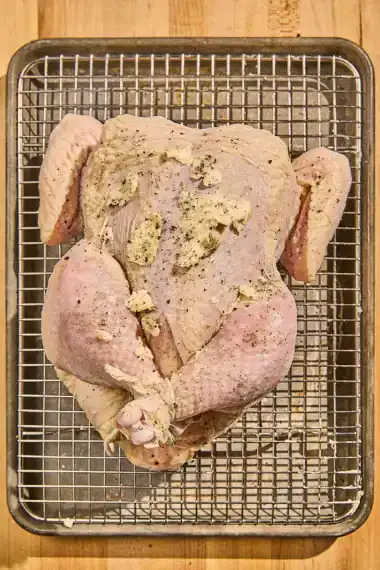
- Rub the chicken all over with butter or olive oil. Season with freshly cracked black pepper and any herbs you like — I used fresh thyme here. Avoid stuffing the cavity with anything that holds moisture (like lemons or apples), since it can kinda steam the chicken on the inside rather than roasting it. If you want that lemon flavor, roast lemon halves alongside the chicken instead — they’ll perfume all those delectable pan juices and you can pour oven when it’s carved.
- Roast the chicken for about 2 hours at 325°F, rotating the tray halfway through. You’re aiming for the thighs to reach at least 200°F — that’s when the connective tissue has broken down and you get that juicy, fall-off-the-bone rotisserie-style texture. The breasts will stay moist thanks to the dry brine. Depending on your chicken’s size or starting temperature, you may need an additional 20–30 minutes.
- You’ll know it’s ready when the skin is deep golden brown and the drumsticks and thighs move easily — like you could almost pull them off the body without a knife.
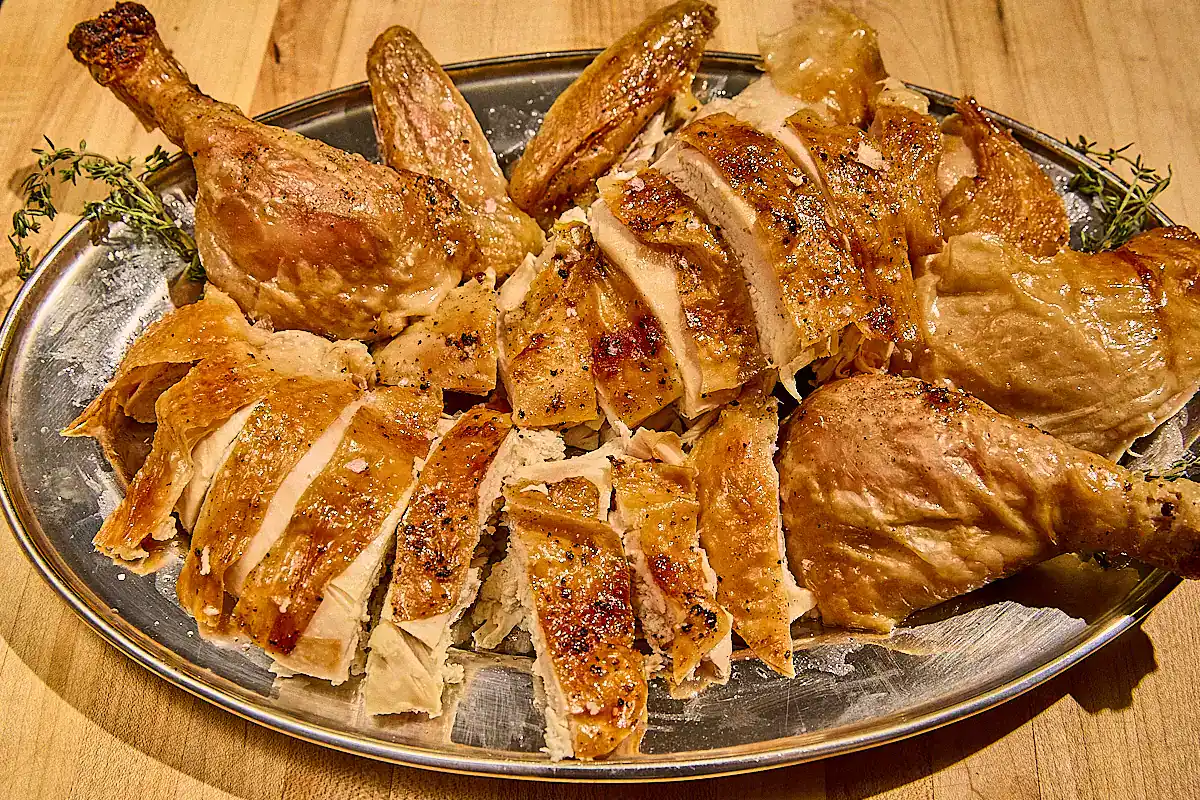
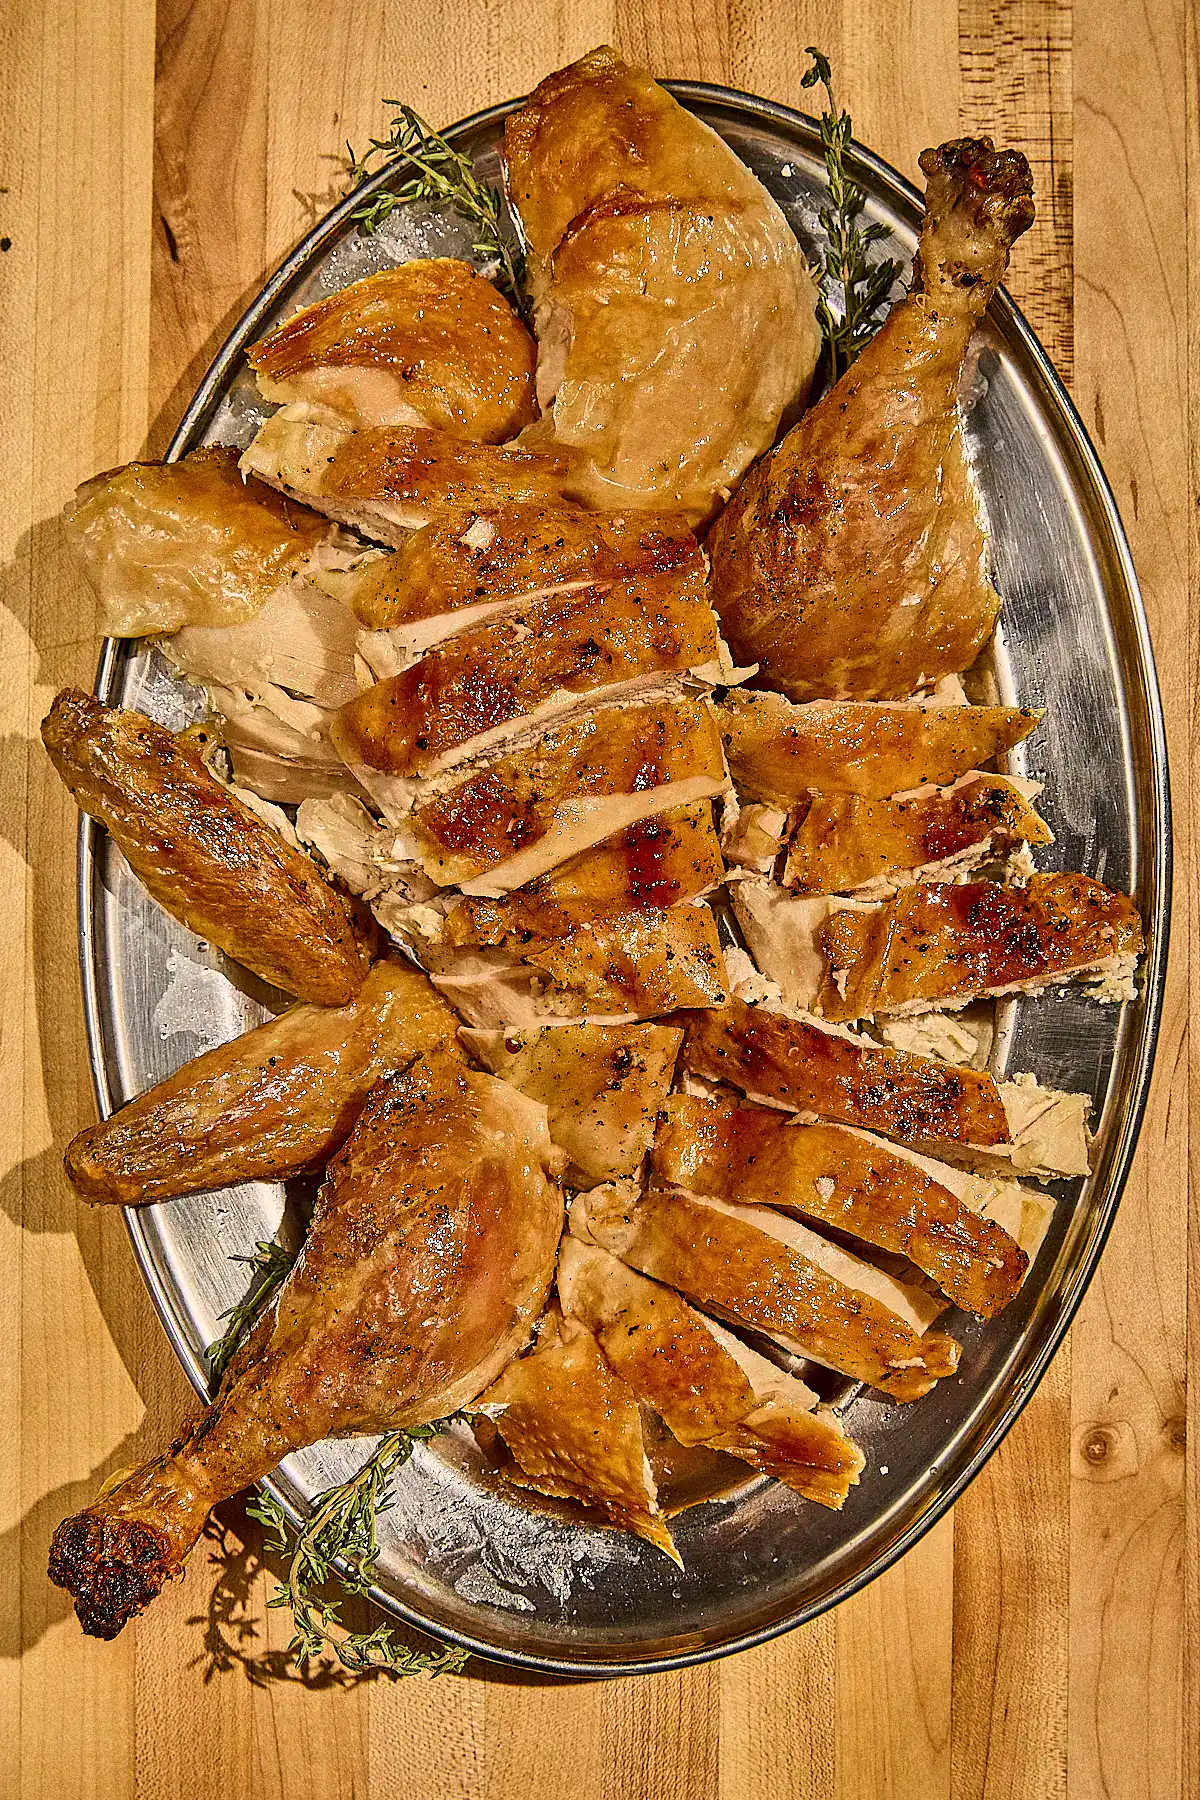
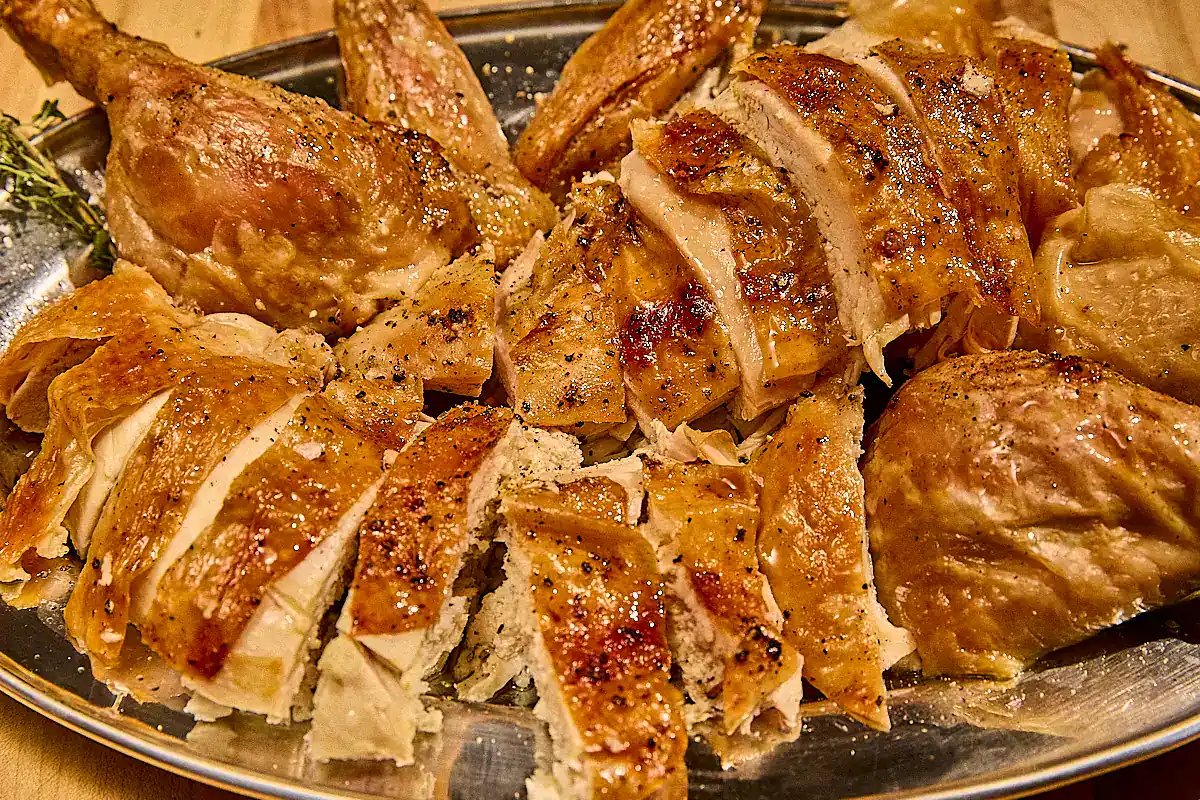
- Remove from the oven and let rest for 15–20 minutes before carving. Pour any accumulated pan juices over the sliced chicken before serving. Eat up!
How to Serve and Enjoy
Once carved, drizzle the chicken with all those pan juices or a touch of olive oil and a squeeze of lemon. It’s perfect with roasted potatoes, roasted Brussels sprouts, or my fave, some good bread and a crisp salad. Here are a few of my favorites to pair with this roast chicken:
- Classic Caesar Salad – This is the best classic Caesar salad recipe with an easy homemade dressing (no raw eggs!), crispy croutons, and fresh romaine lettuce.
- Radicchio Salad with Pear and Blue Cheese – This Italian radicchio salad has sweet pears, blue cheese, olives, and a delicious honey walnut dressing — the perfect light lunch or side dish.
- Sicilian Fennel and Orange Salad – This Sicilian fennel and orange salad is a classic Italian citrus salad featuring fresh fennel, blood orange, olives, and walnuts — simple, refreshing, and endlessly delicious.
- Bitter Green Caesar Salad – A punchy twist on a classic Caesar salad, made with bitter greens like radicchio and endive, and finished with roasted olive croutons for a salty, savory crunch.
- Celery Apple Fennel Salad – A quick and easy celery salad with fresh fennel, radishes, parsley, toasted sesame, and a five-spice dressing.
- Greek Yogurt Ranch Dressing – A recipe for a classic ranch dressing using tangy Greek yogurt as the base.
FAQs for Dry Brined Roast Chicken
What does dry brining do exactly?
Dry brining seasons the meat deeply and helps it retain moisture. That means your chicken will stay juicy inside, be well seasoned, all while the skin gets perfectly crisp.
How long should you dry brine a chicken?
At least 5 hours, but overnight is best for full flavor and juiciness. If you’re dry brining a larger chicken, or even a turkey, I would highly recommend at least 12 hours.
What temperature should roast chicken be cooked to?
While 165°F is the minimum safe temperature for chicken, the best texture comes when the thighs reach a minimum of 180°F, and for this recipe I recommend you roast it to 200°F for that super succulent texture. The collagen and connective tissue in the chicken starts to break down, melts and the meat becomes tender and fall-off-the-bone.
Can I use this method for turkey?
Yes! This is exactly how I cook my turkey. You’ll need to scale up the salt and roasting time based on the turkey’s weight. The same low-and-slow, dry brined method works beautifully.
Can I add herbs or spices to the brine?
Definitely. Start with salt for the dry brine, then season with your favorites before roasting — thyme, rosemary, paprika, and garlic powder all work well. But get creative, go wild!
More Delicious Recipes to Try
Agrodolce – Chicken agrodolce with Castelvetrano olives and pine nuts.
Easy Oven Baked Pork Ribs – The best rib recipe. Easy to dry rubbed ribs baked in the oven. Tender and succulent.
Crispy Chicken Cutlets – A step-by-step recipe for how to make delicious crispy chicken cutlets — great served with a squeeze of lemon or topped with a bright, crisp salad.
Chicken Cutlets with Frisée, Fennel, and Grape Salad – Crispy chicken cutlets topped with a frisée, fennel, and grape salad tossed in a bright Chardonnay vinaigrette — simple, fresh, and endlessly adaptable.
Creamy Pesto Chicken – Creamy red pesto chicken with burst tomatoes, basil, and white beans — an easy, one-pan chicken dinner ready in 30 minutes.
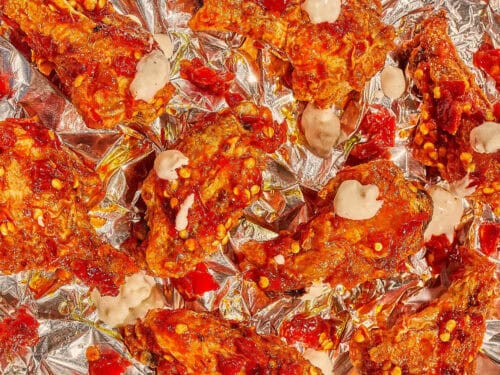
Crispy Baked Chicken Wings – Crispy oven-baked chicken wings with a sweet and spicy Calabrian chili sauce, served with creamy Gorgonzola blue cheese dressing — no frying needed!
Crispy Fried Pork Cutlets with Citrus Arugula Salad – Perfectly crispy fried pork cutlets (pork Milanese) paired with a bright citrus arugula salad — quick to make and so delicious!
Did you make this Dry Brined Roast Chicken recipe?
Leave a rating and comment below—or tag @TheMostHungry on Instagram. I can’t wait to see it!

Dry Brined Roast Chicken Recipe
Equipment
Ingredients
- 1 Whole Chicken about 3.75 lb, drained and giblets removed
- 6 teaspoons Diamond Crystal Kosher Salt (just over 1% of the chicken’s weight)
- 3 tablespoons butter or olive oil - at room temperature
- black pepper freshly ground
- Fresh Thyme (optional)
Instructions
How to Dry Brine a Chicken
- Start by preparing your roasting setup. Line a baking tray with paper towels to catch any liquid that releases as the chicken brines, and place a wire rack on top.
- You want roughly 1% salt by weight of the chicken for this dry brine. For a 3.75 lb bird, that’s about 6 tablespoons of Diamond Crystal kosher salt. If using another brand or finer salt, use a scale to be accurate. (see chart in notes below for measurements)
- To measure: place a large bowl on your digital scale and tare it. Remove the chicken from its packaging, take out the giblets, and drain off any liquid. Place the chicken in the bowl to get its true weight.
- In a separate small bowl, measure out the salt. Evenly sprinkle it over the entire chicken — inside and out — massaging gently to ensure it’s well coated. It might look like a lot of salt, but it’s exactly what the bird needs. Trust me!
- Place the chicken on your prepared tray and refrigerate uncovered for at least 5 hours, or ideally overnight. As it brines, the salt will be absorbed and the skin will begin to dry — that’ll give us that crisp, golden skin when roasted.
Roasting Your Chicken to Perfection
- When you’re ready to roast, preheat your oven to 325°F (160°C).
- Remove the chicken from the fridge and discard the paper towels under the rack. Pat the chicken dry, inside and out, with fresh paper towels.
- Tie the legs together with twine and tuck the wing tips underneath.
- If you can, remove the wishbone — it makes carving SO much easier later. Use a small paring knife to trace along the wishbone at the top of the breasts, then gently pull it away from the meat and cut it free from the carcass.
- Rub the chicken all over with butter or olive oil. Season with freshly cracked black pepper and any herbs you like — I used fresh thyme here.
- Roast the chicken for about 2 hours at 325°F, rotating the tray halfway through. You’re aiming for the thighs to reach at least 200°F. Depending on your chicken’s size or starting temperature, you may need an additional 20–30 minutes.
- You’ll know it’s ready when the skin is deep golden brown and the drumsticks and thighs move easily — like you could almost pull them off the body without a knife.
- Remove from the oven and let rest for 15–20 minutes before carving. Pour any accumulated pan juices over the sliced chicken before serving. Eat up!
Notes
DRY BRINE SALT CHART (DIAMOND CRYSTAL KOSHER SALT)
Here’s a quick reference chart for how much salt to use when dry-brining your chicken.- for a 2.5 LB chicken use 4 tsp (11 g) of salt
- for a 3 LB chicken use 5 tsp (14 g) of salt
- for a 3.5 LB chicken use 5 ¾ tsp (16 g) of salt
- for a 3.75 LB chicken use 6 tsp (17 g) of salt
- for a 4 LB chicken use 6 ½ tsp (18 g) of salt
- for a 4.5 LB chicken use 7 tsp (20 g) of salt
- for a 5 LB chicken use 8 tsp (23 g) of salt
Did You Make This Recipe?
Leave a comment with your thoughts or share your version on Instagram by tagging @TheMostHungry. I’d love to see how you made it your own!

Want more recipes like this delivered right to your inbox?
Sign-up to the Substack newsletter below:
Subscribe
Hi, I'm Rachel — the cook, photographer, and recipe developer behind Most Hungry.
This is my go-to spot for bold, approachable recipes rooted in Italian and Italian-American cooking, from hand-rolled fresh pasta to fall-off-the-bone ribs. Great food should be fun, doable, and absolutely delicious. Learn more about me →





4 thoughts on Dry Brined Roasted Chicken
Just looking at the finished brined chicken makes me hungry.
Me too! Already planning on making another one this week…
Quick question, because I am confused. In your recipe you say 6 TBSP for salt, but then in the diamond crystal chart is states teaspoons not tablespoons. Just curious to which one you used that was correct. Thank you!!
Angie, thanks SO much for pointing that out!! It was a typo in the recipe. It should be 6 TEASPOONS (not tbsp). Just corrected it. The info in the chart is correct.